¶ Lab 1: Pendulum
¶ Materials
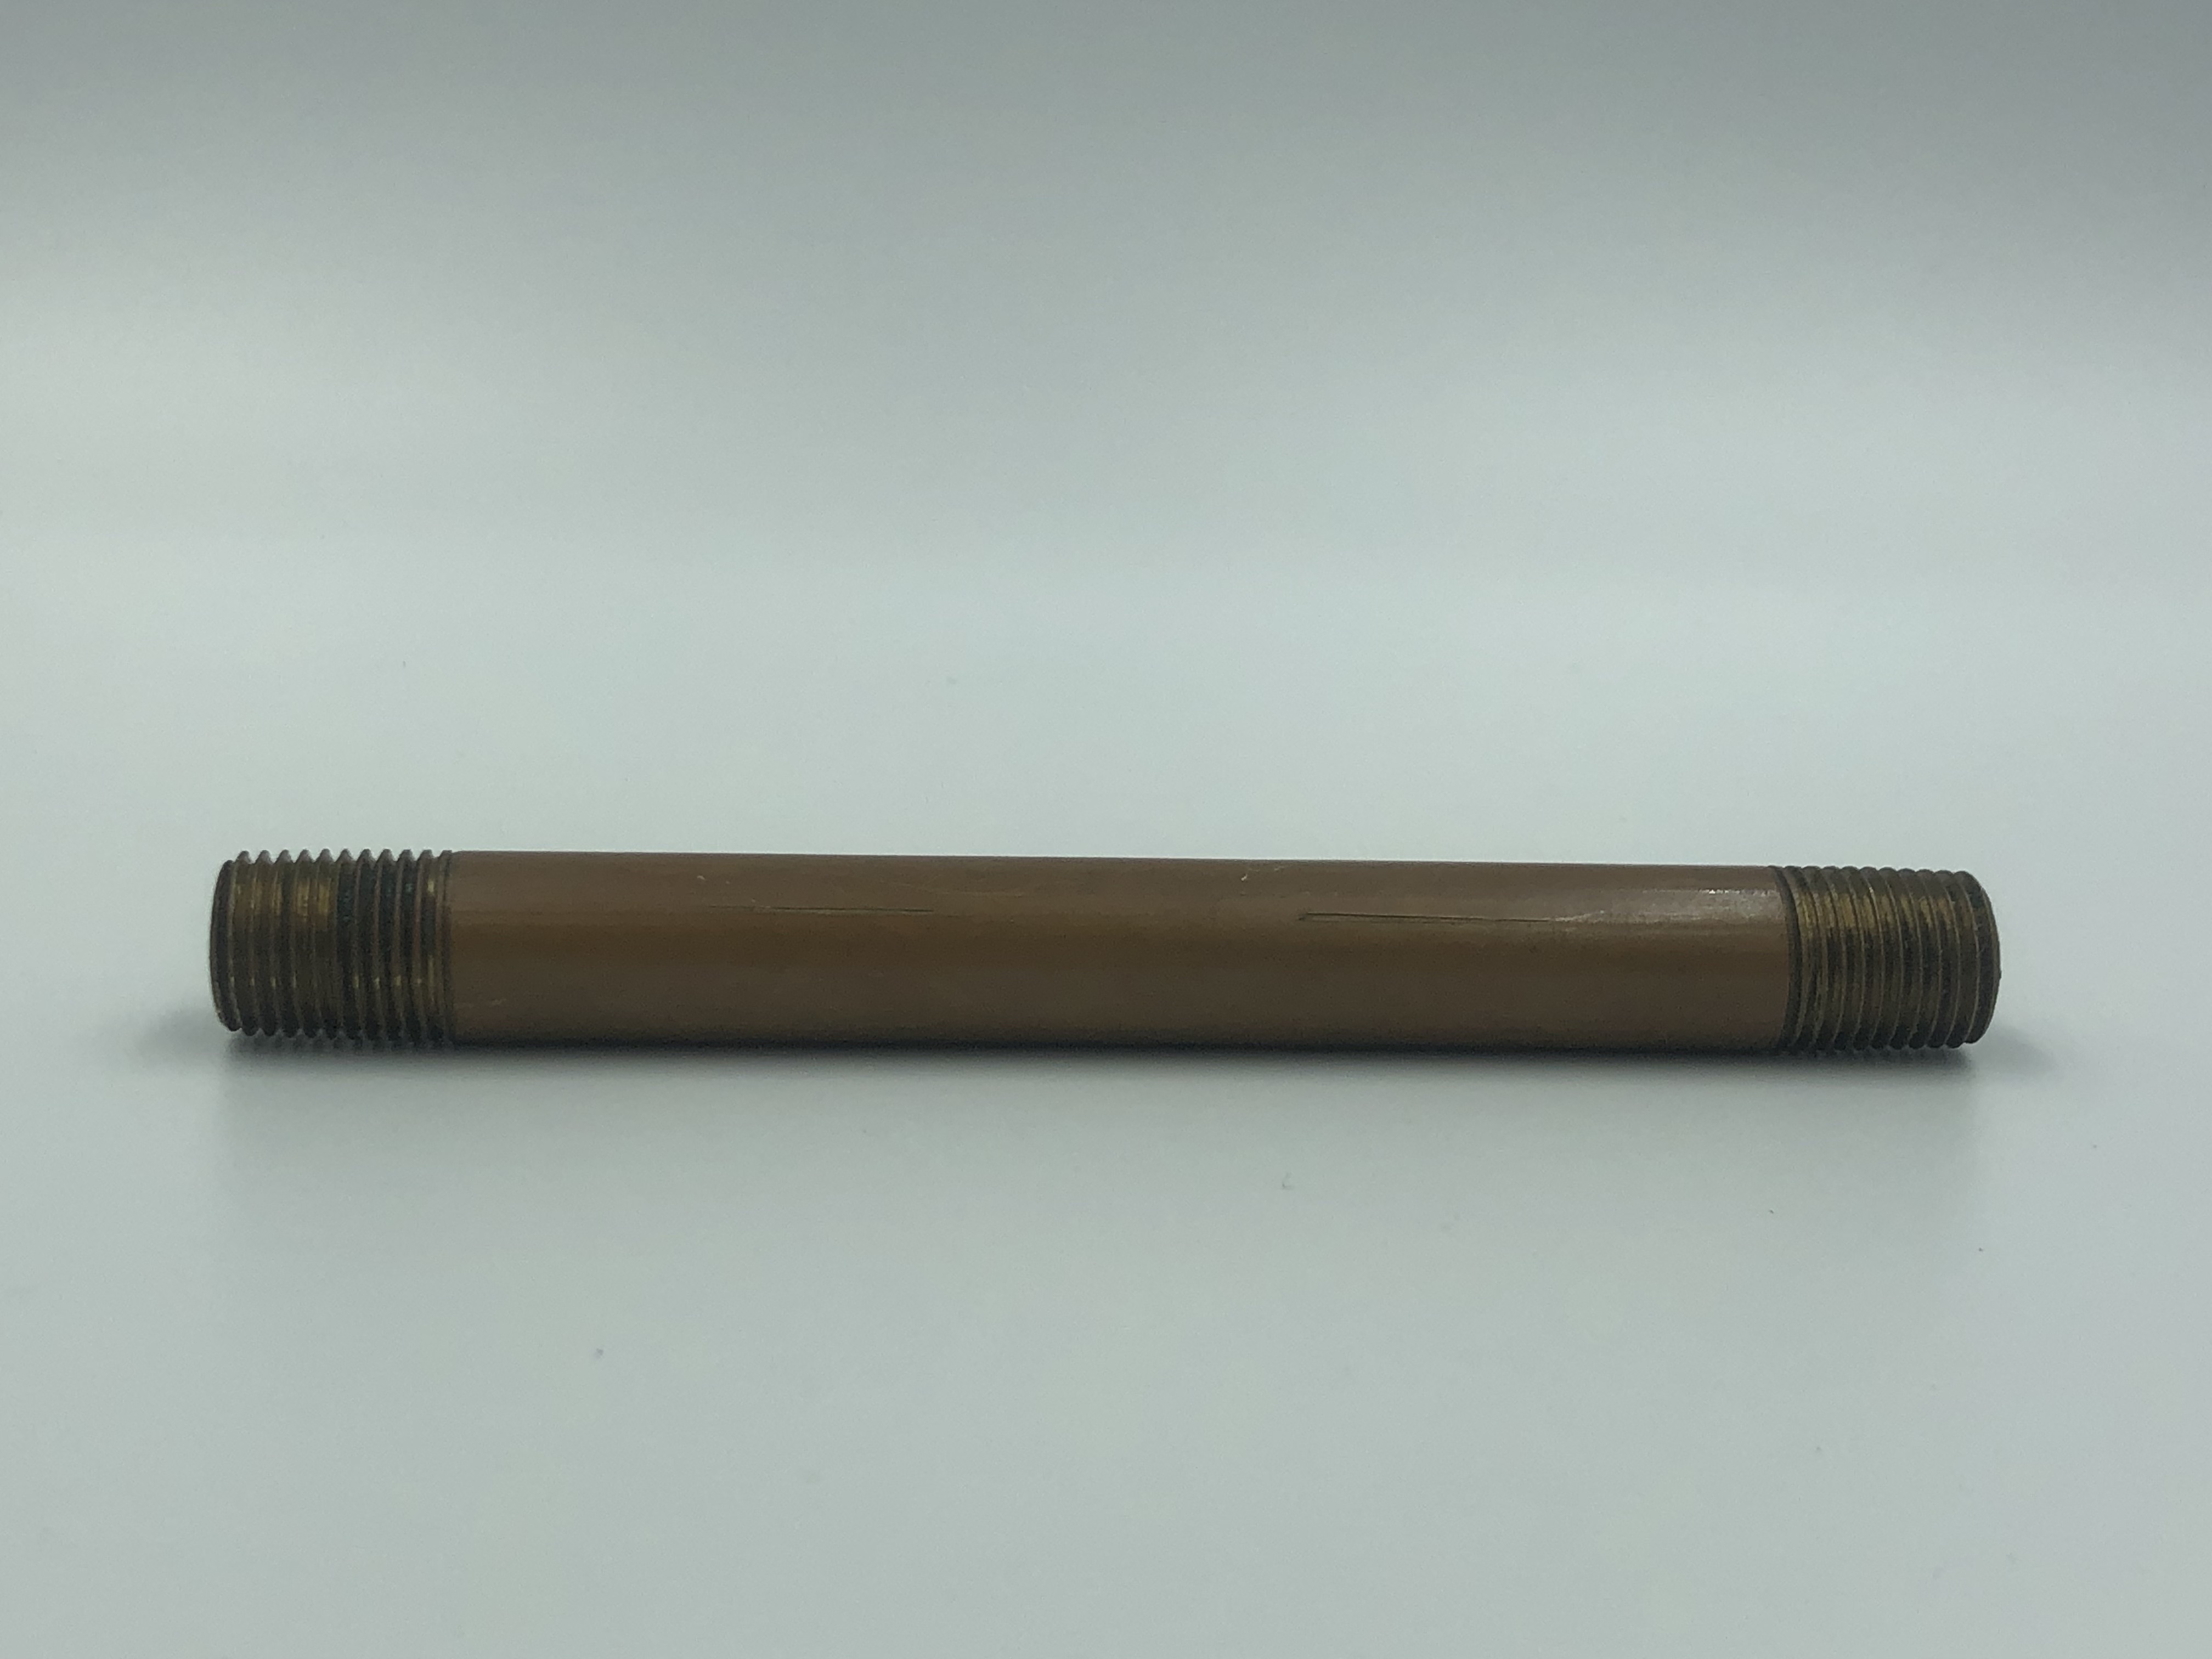
- ¾” Rod with Table Clamp
- ½” Rod with Right Angle Clamp and Grey String Holder attached
- Protractor
- Idler
- String
- 6 Bobs*
- 1 Pendulum bob holder*
- Tape Measure*
- Stopwatch*
- Triple Beam Balance
*in container
¶ Cart?
No cart needed.
¶ Photo of Completed Set-Up

¶ Instructions
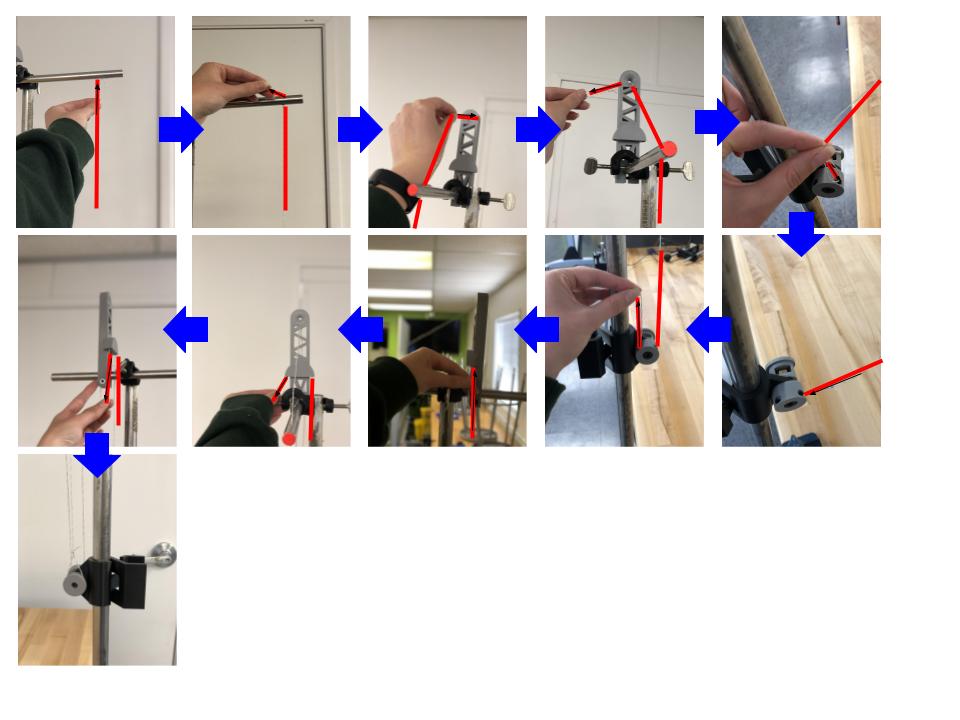
- Mount the ¾” rod roughly in the center of the lab table and always use the cheat bar to tighten the table clamp.
¶ Cheat Bar
2. Slide the idler onto the ¾" rod
¶ Idler
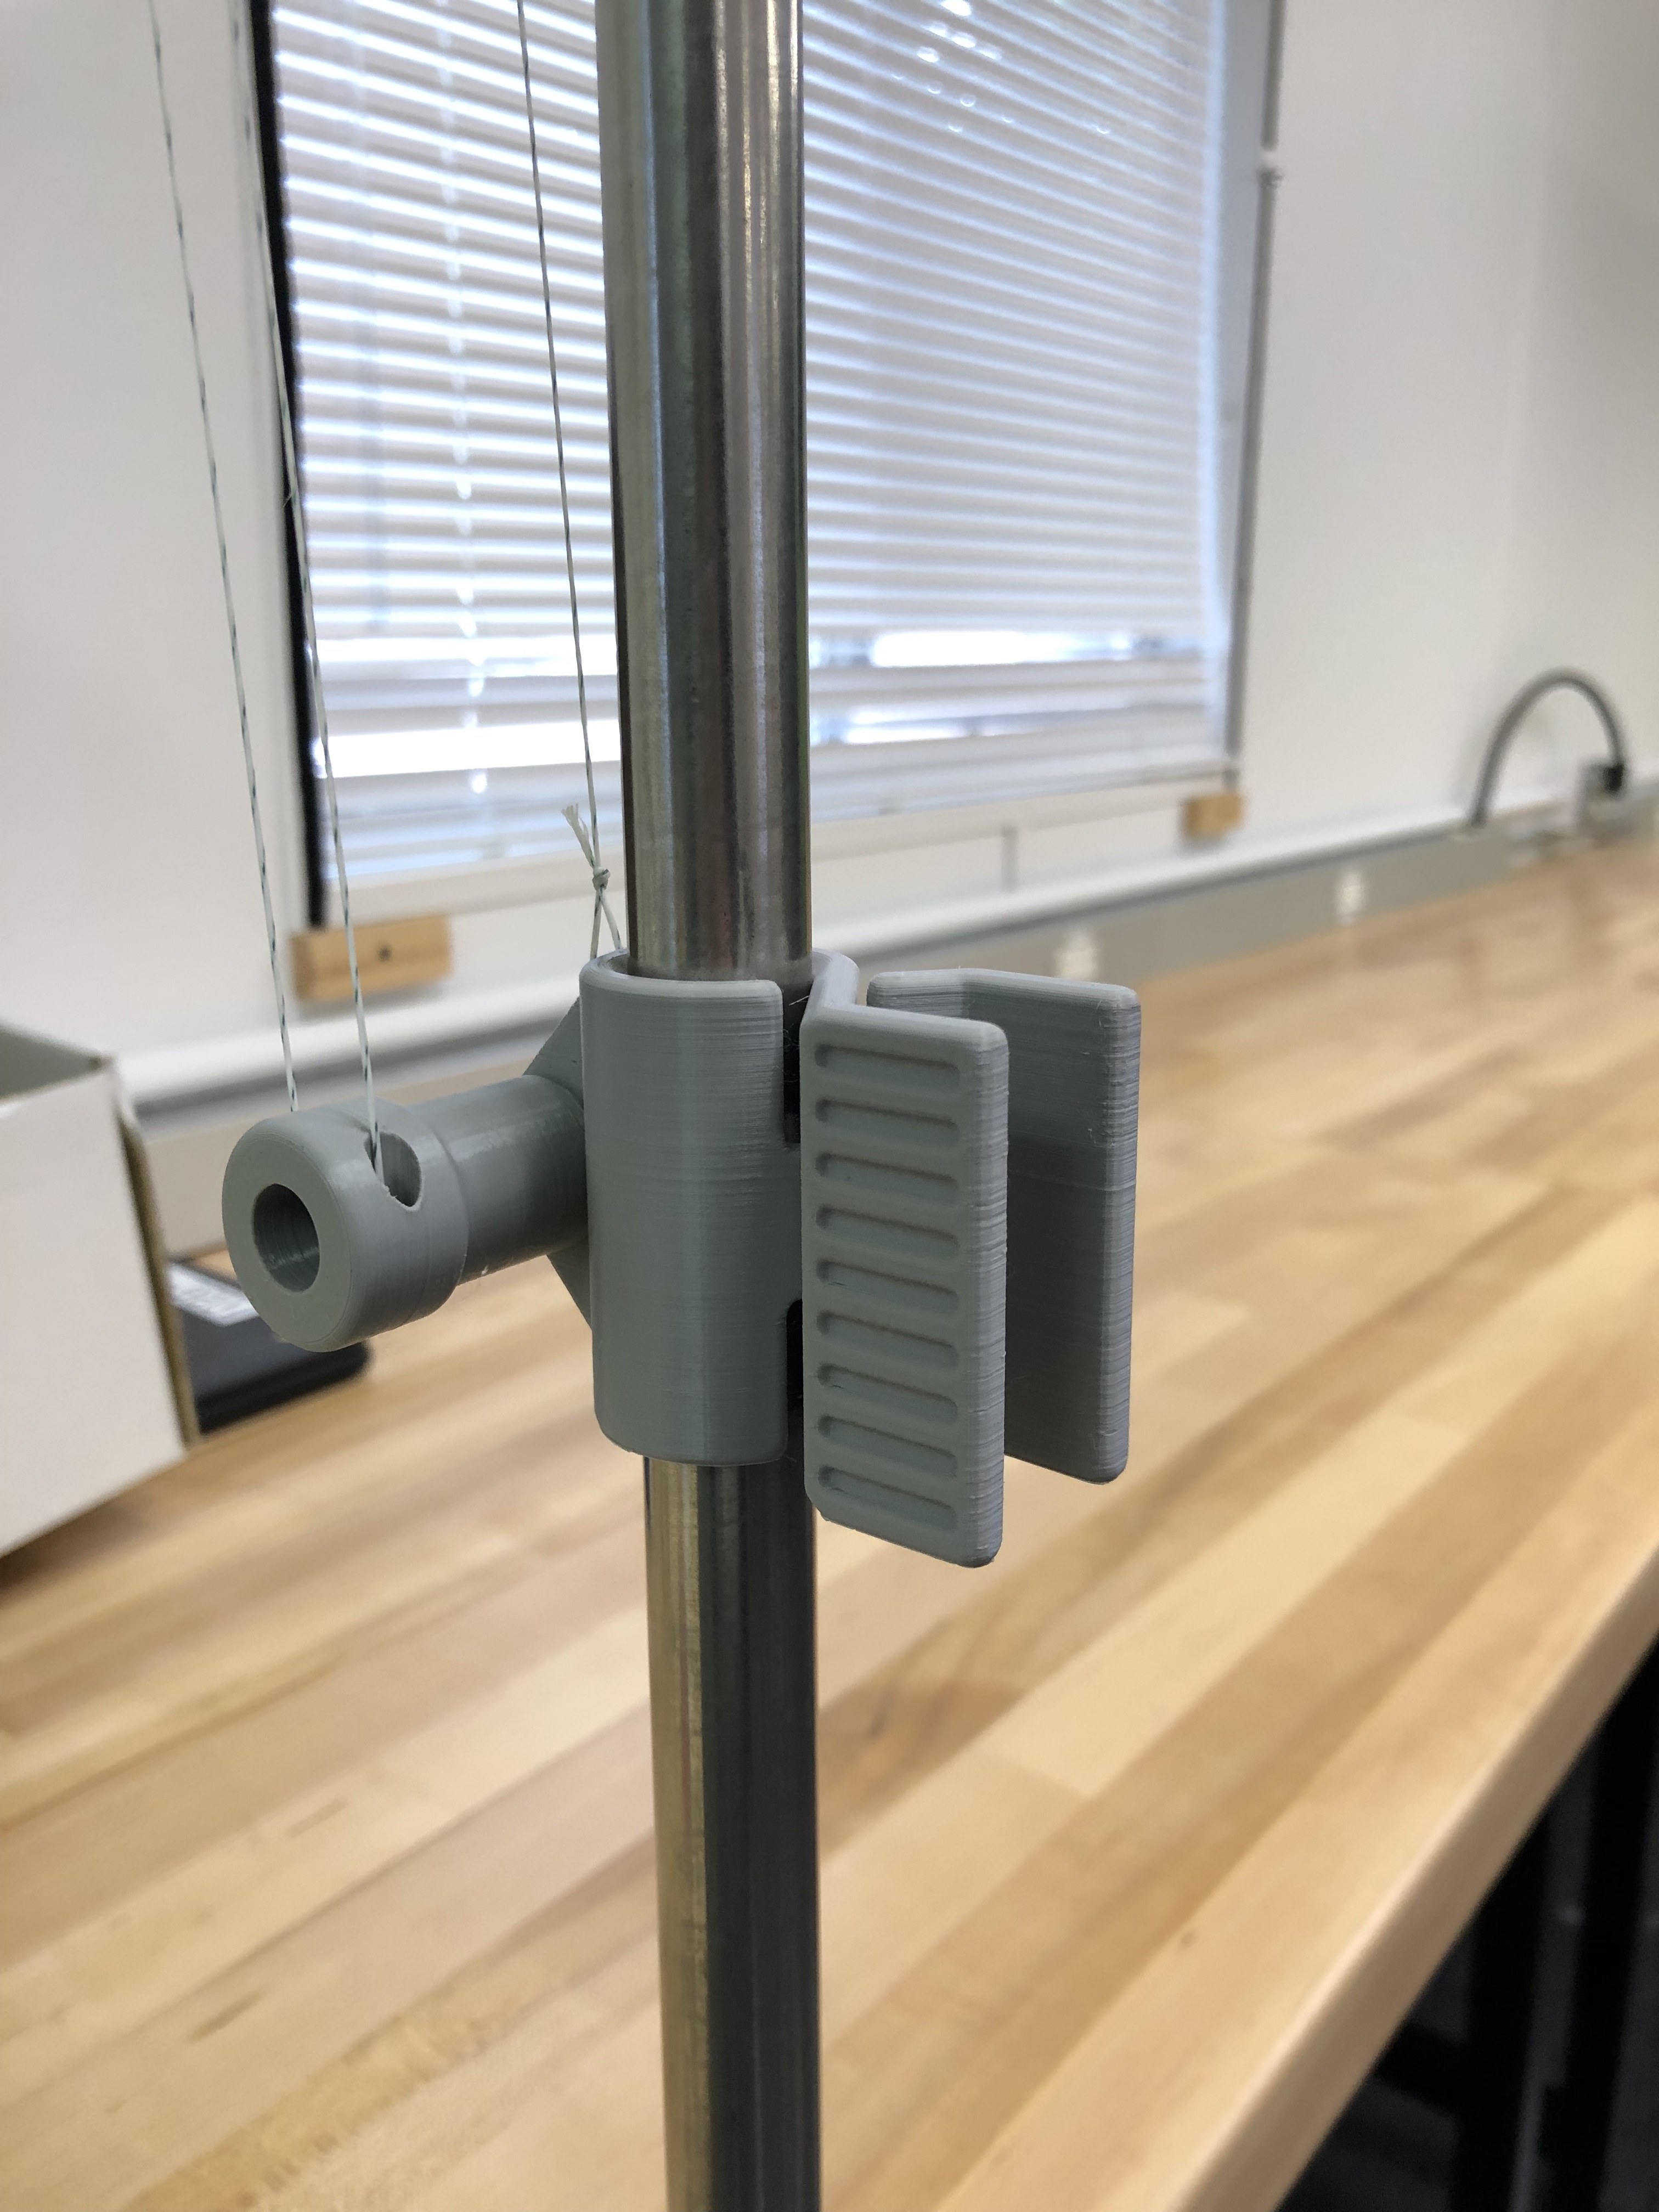
3. Attach the ½” rod to the very top of the ¾” rod using the right angle clamp with the string holder pointing upward.
- The painted end of the rod should be in the front.
- The ½” rod should rest on the flat part of the right angle clamp, not on the screw.
- The hole in the ½” rod that the string goes through should be straight up and down.
- The two rods should be perpendicular to each other. If they are not, the right angle clamp should be replaced.
- The height of the ½” rod/string holder should be consistent for all setups.
- The string holder should already be attached to the ¾” rod. If it is not, see info below.
¶ String Holder Apparatus
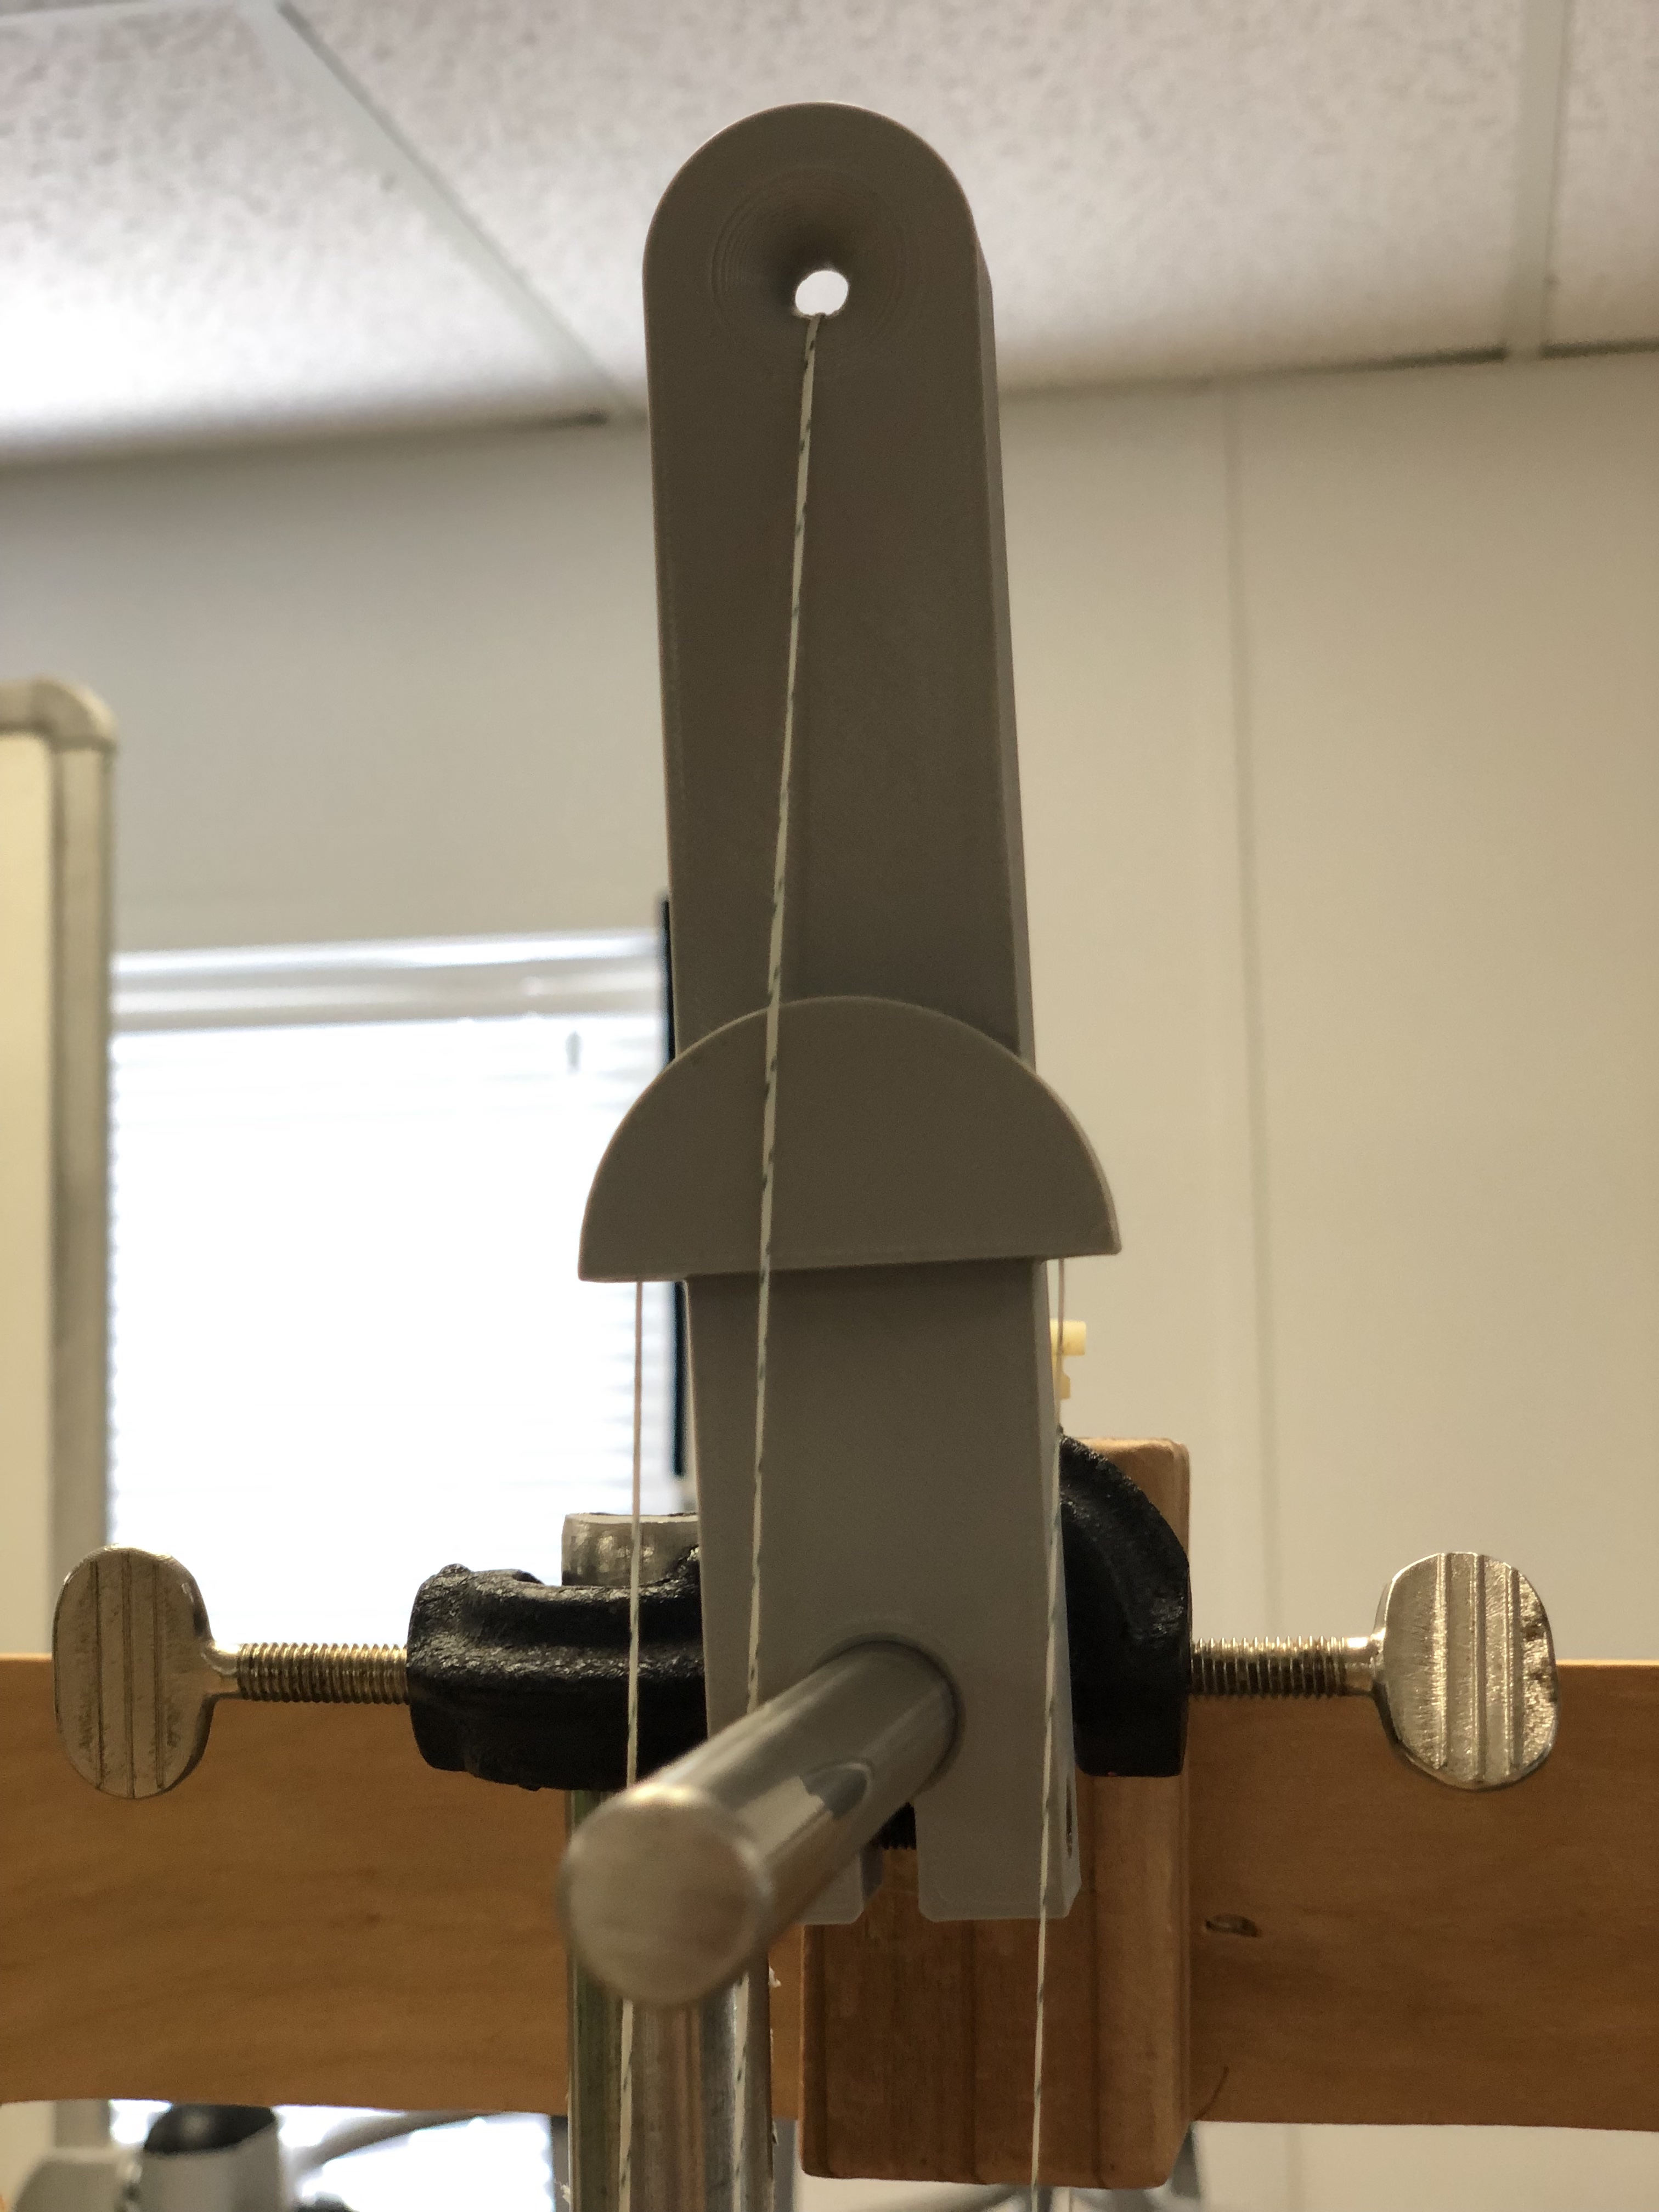
4. Slide the protractor onto the front of the 1/2” rod. Place the protractor as close to the string as possible without obstructing the pendulum. Make the protractor cockeyed so that it is not perfectly aligned with the string and thus the students have to align it themselves.
5. To add the string:
- Feed the loop end of the string through the hole at the end of the ½” rod in front of the ¾” rod
- Feed the loop up through the hole at the top of the string holder
- Feed the loop down through the channel on screw attachment on the idler
- Feed the loop back up through the channel in string holder
- Finally, pull the loop back down and loop it around the nut attachment on the idler
¶ String Setup
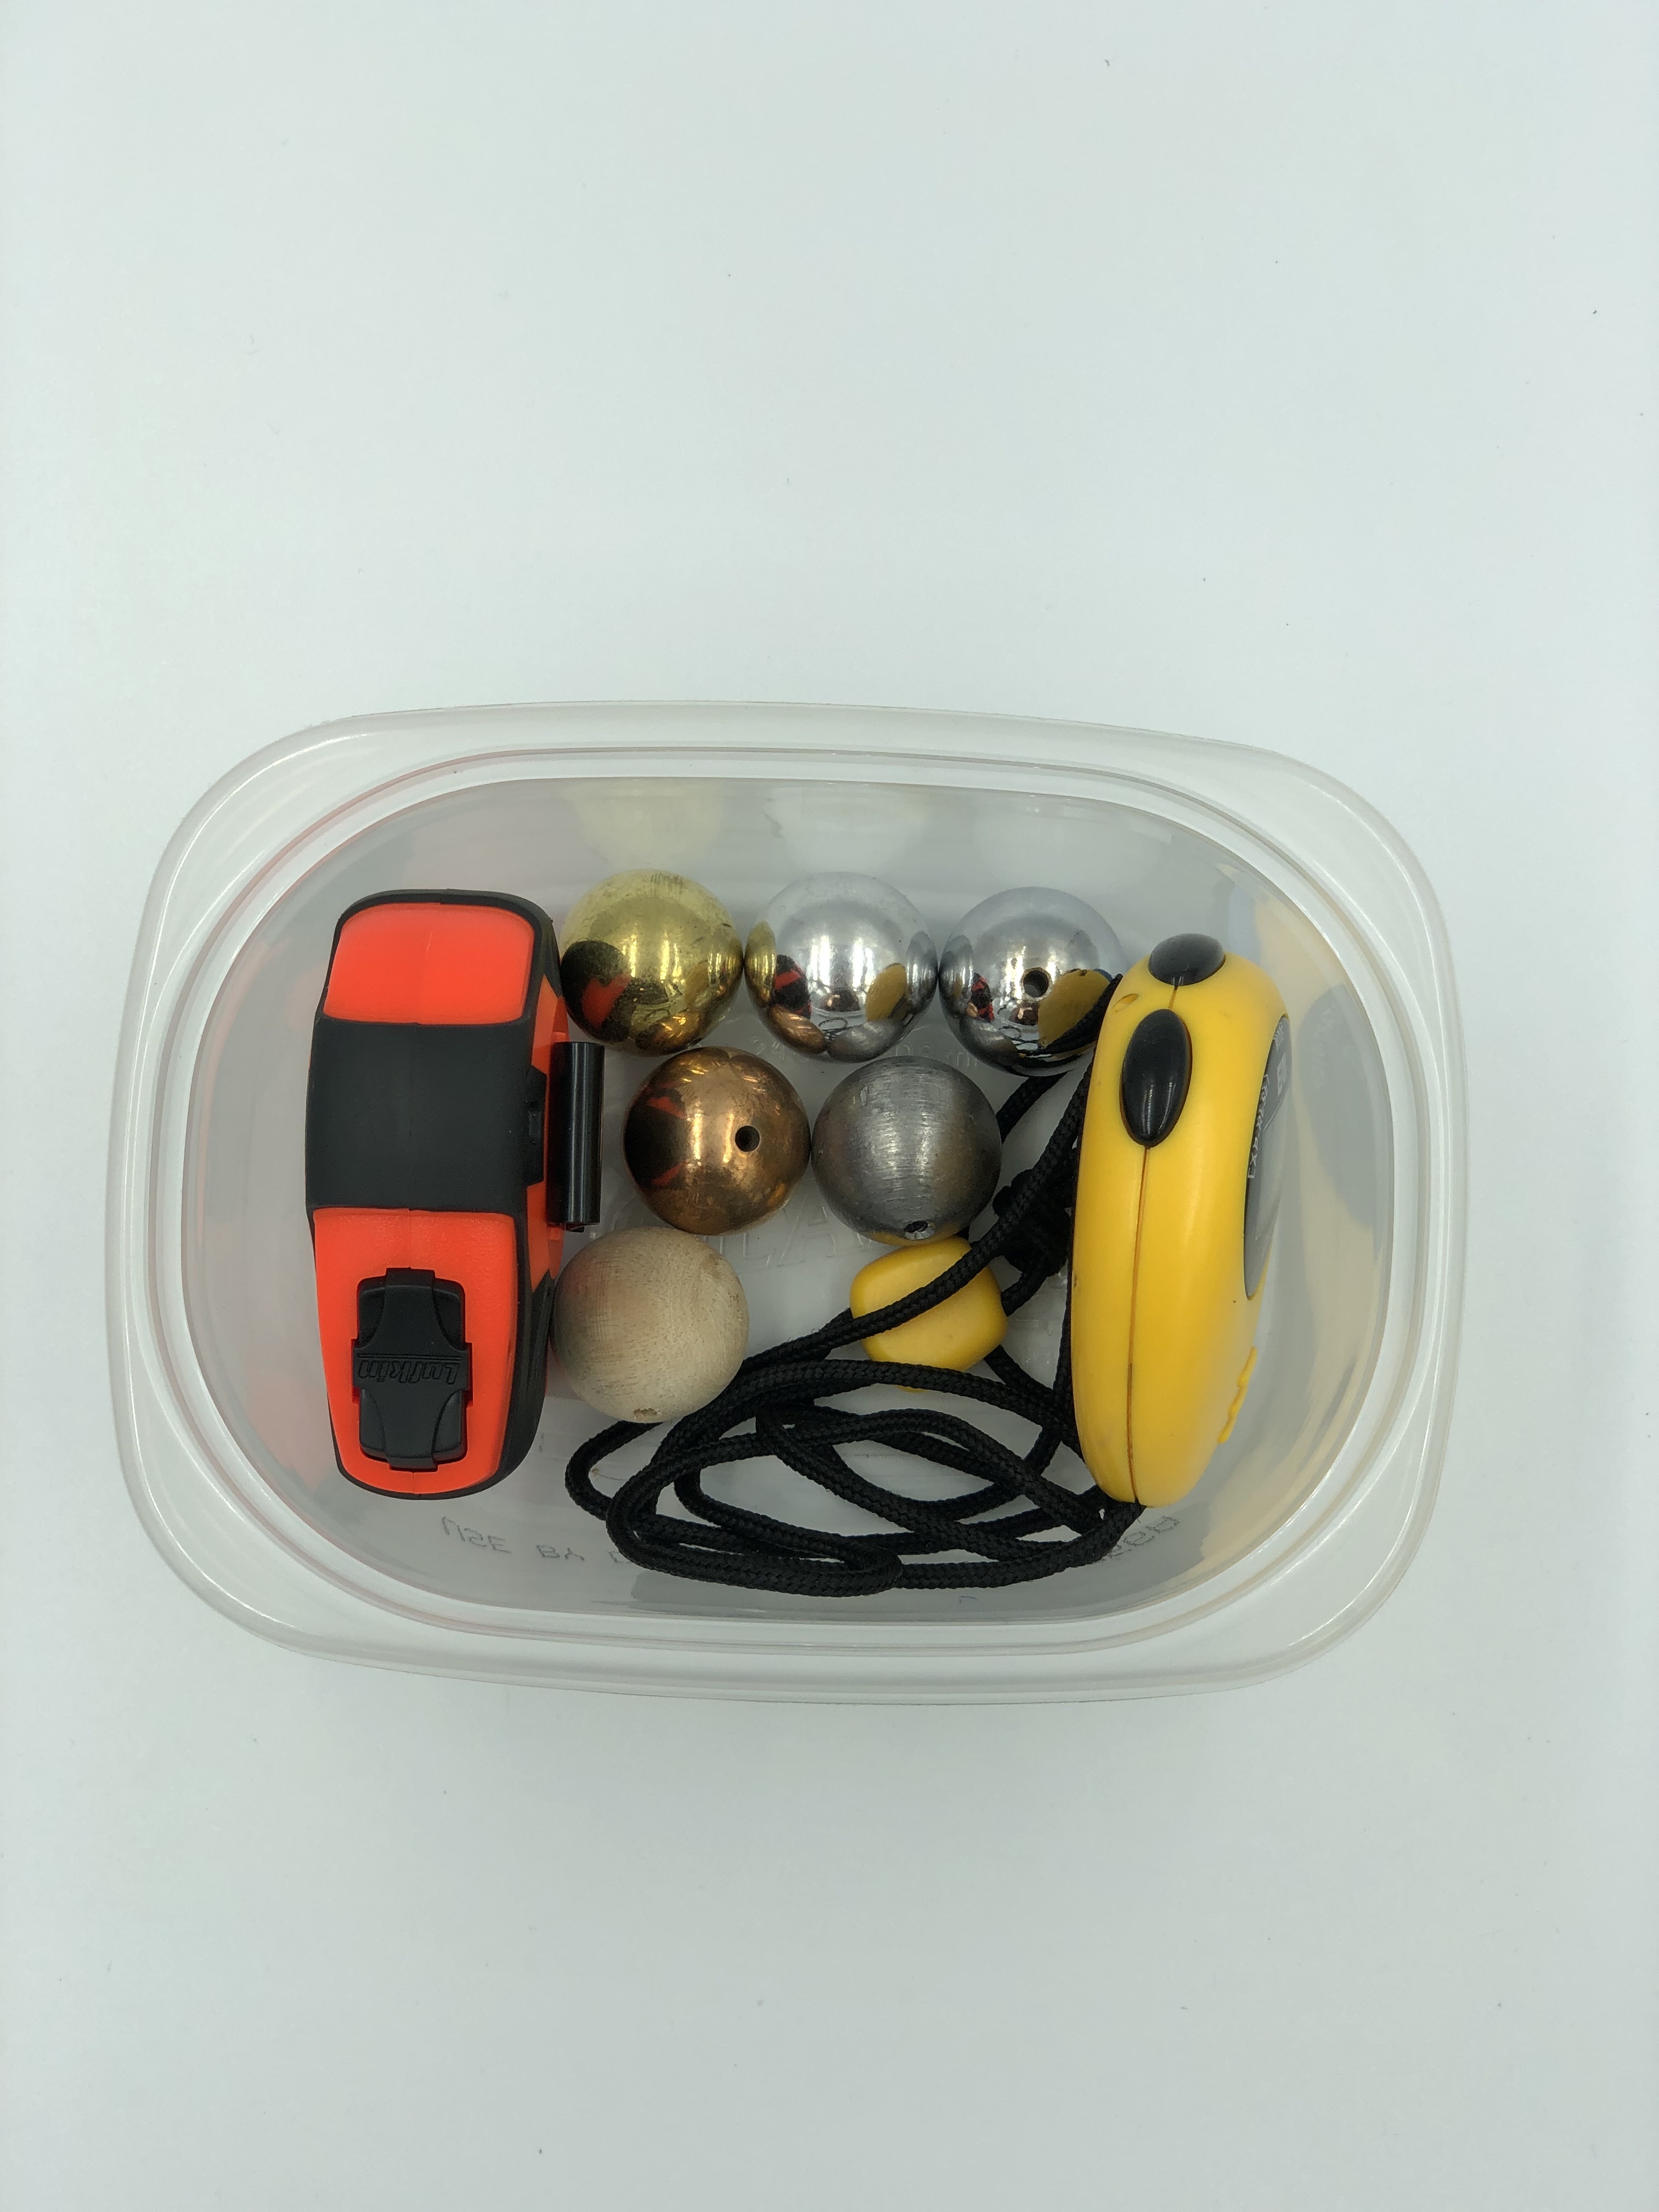
6. Place the container with the tape measure, stopwatch, and the six bulbs on the table next to the pendulum set up.
7. Place the triple beam balance on the lab table (one for every two lab setups).
¶ Container with Bobs, Tape Measure, and Stopwatch
¶ Spares
- Set of bobs
- 2 Stopwatches
- Tapemeasure
- Container of little stoppers to hold bobs on string
- String (cut to correct length)
¶ Link to Lab Instructions
Last Updated: 4/19/23