¶ Lab 2: Force and Motion
¶ Materials
- Air Track
- Blower
- Tube for Blower
- Plastic Container
- Glider
- Aluminum Block Set (4)
- Aluminum Plate
- Glider Mass Set
- 4 Glider Masses
- 2 Bumpers
- 1 Pulley
- 1 Glider Hook
- Stopwatches (3 per lab station)
- Spring Scale with Clamps
- Test Tube Clamp
- Right Angle Clamp
- Pole Stand
- ½ Meter Stick
- Balance
¶ Cart?
No cart needed.
¶ Photo of Completed Set-Up
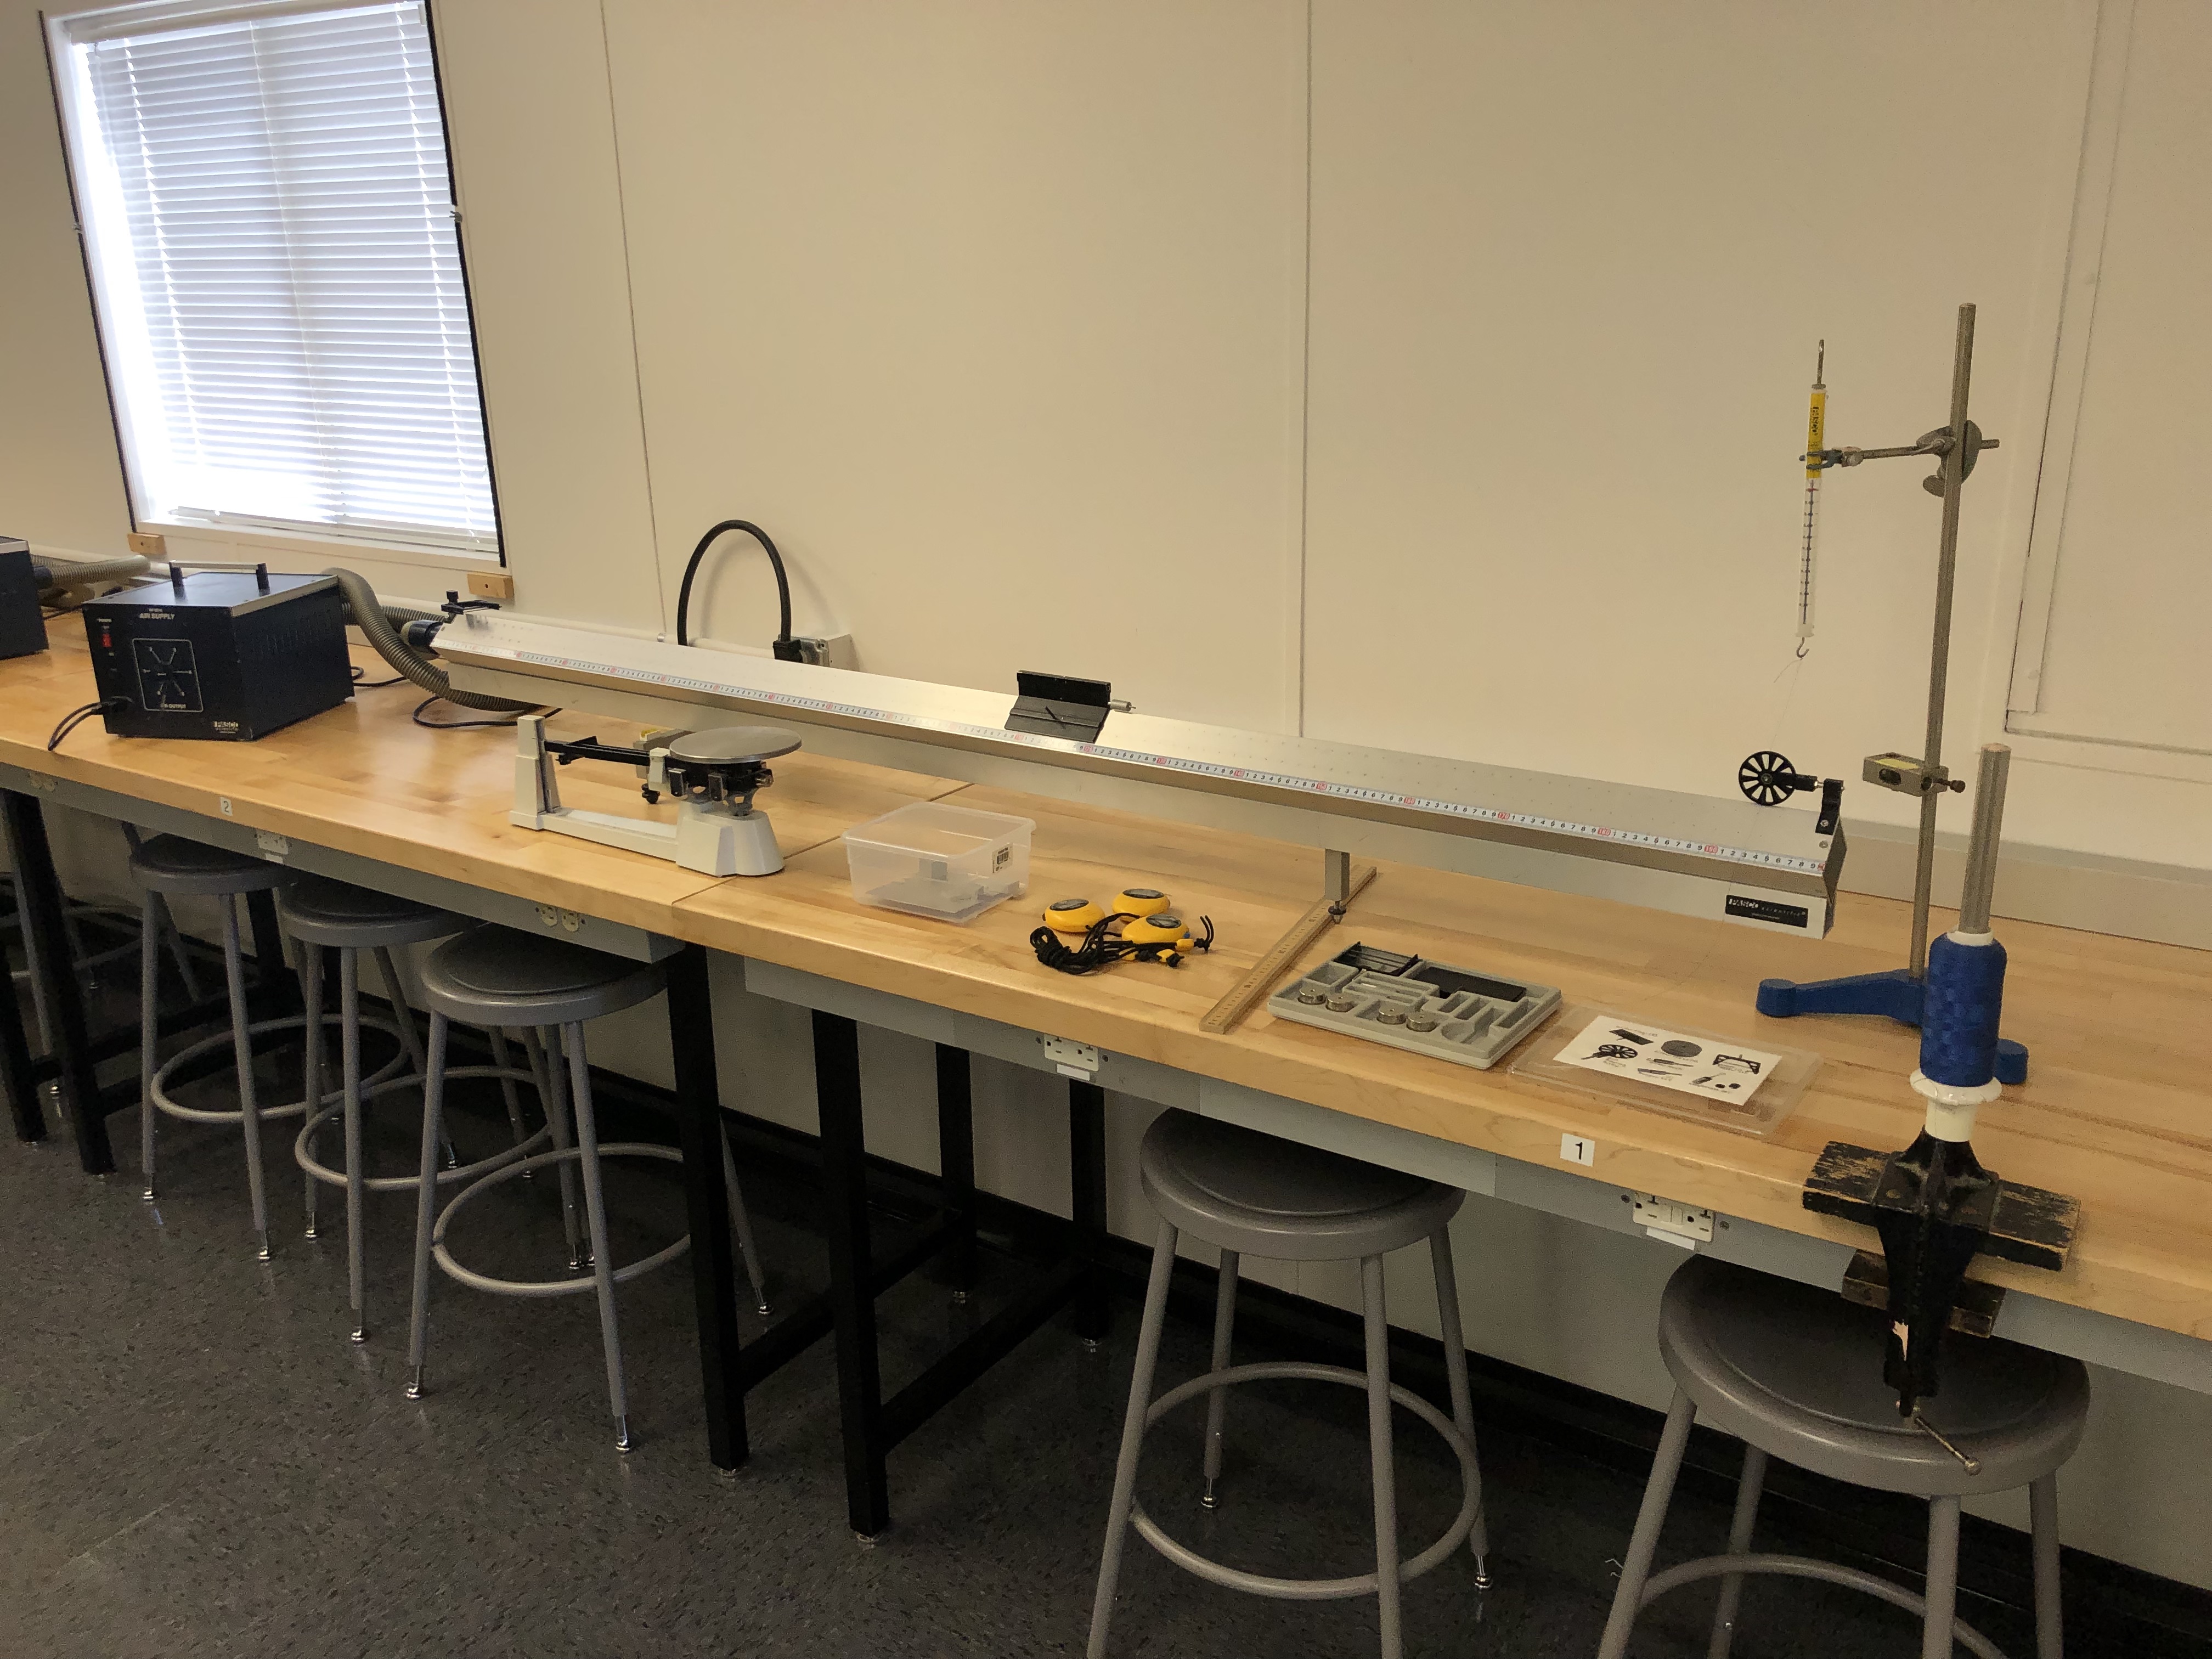
**Ignore the table clamp with spare string in this photo. The spare string should be kept in the cabinet.
¶ Instructions
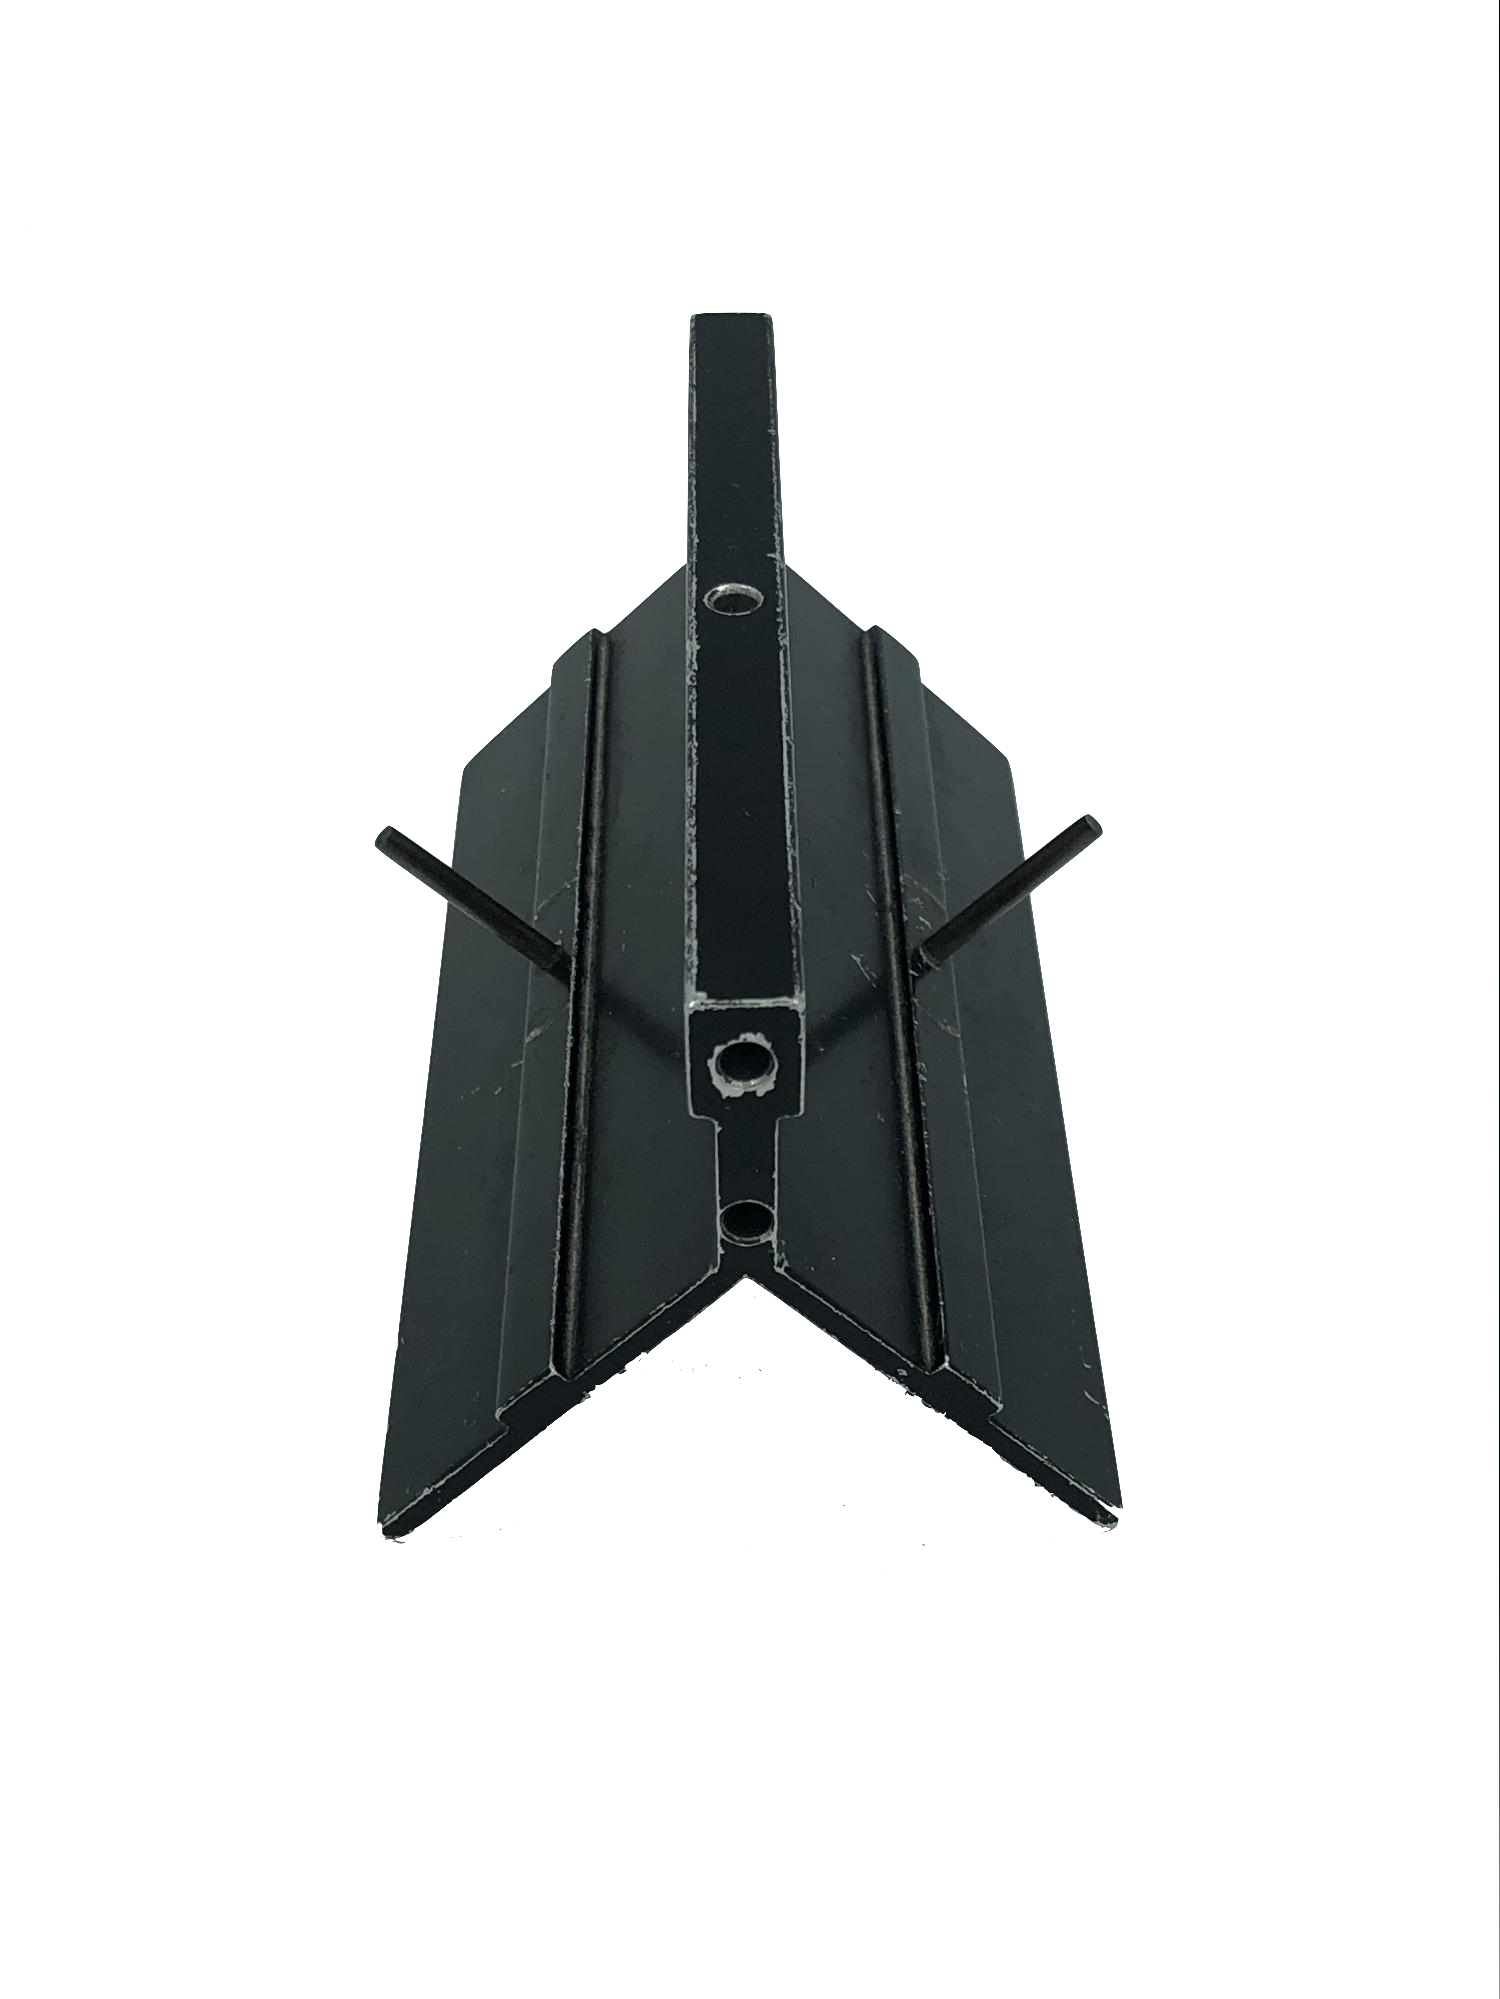
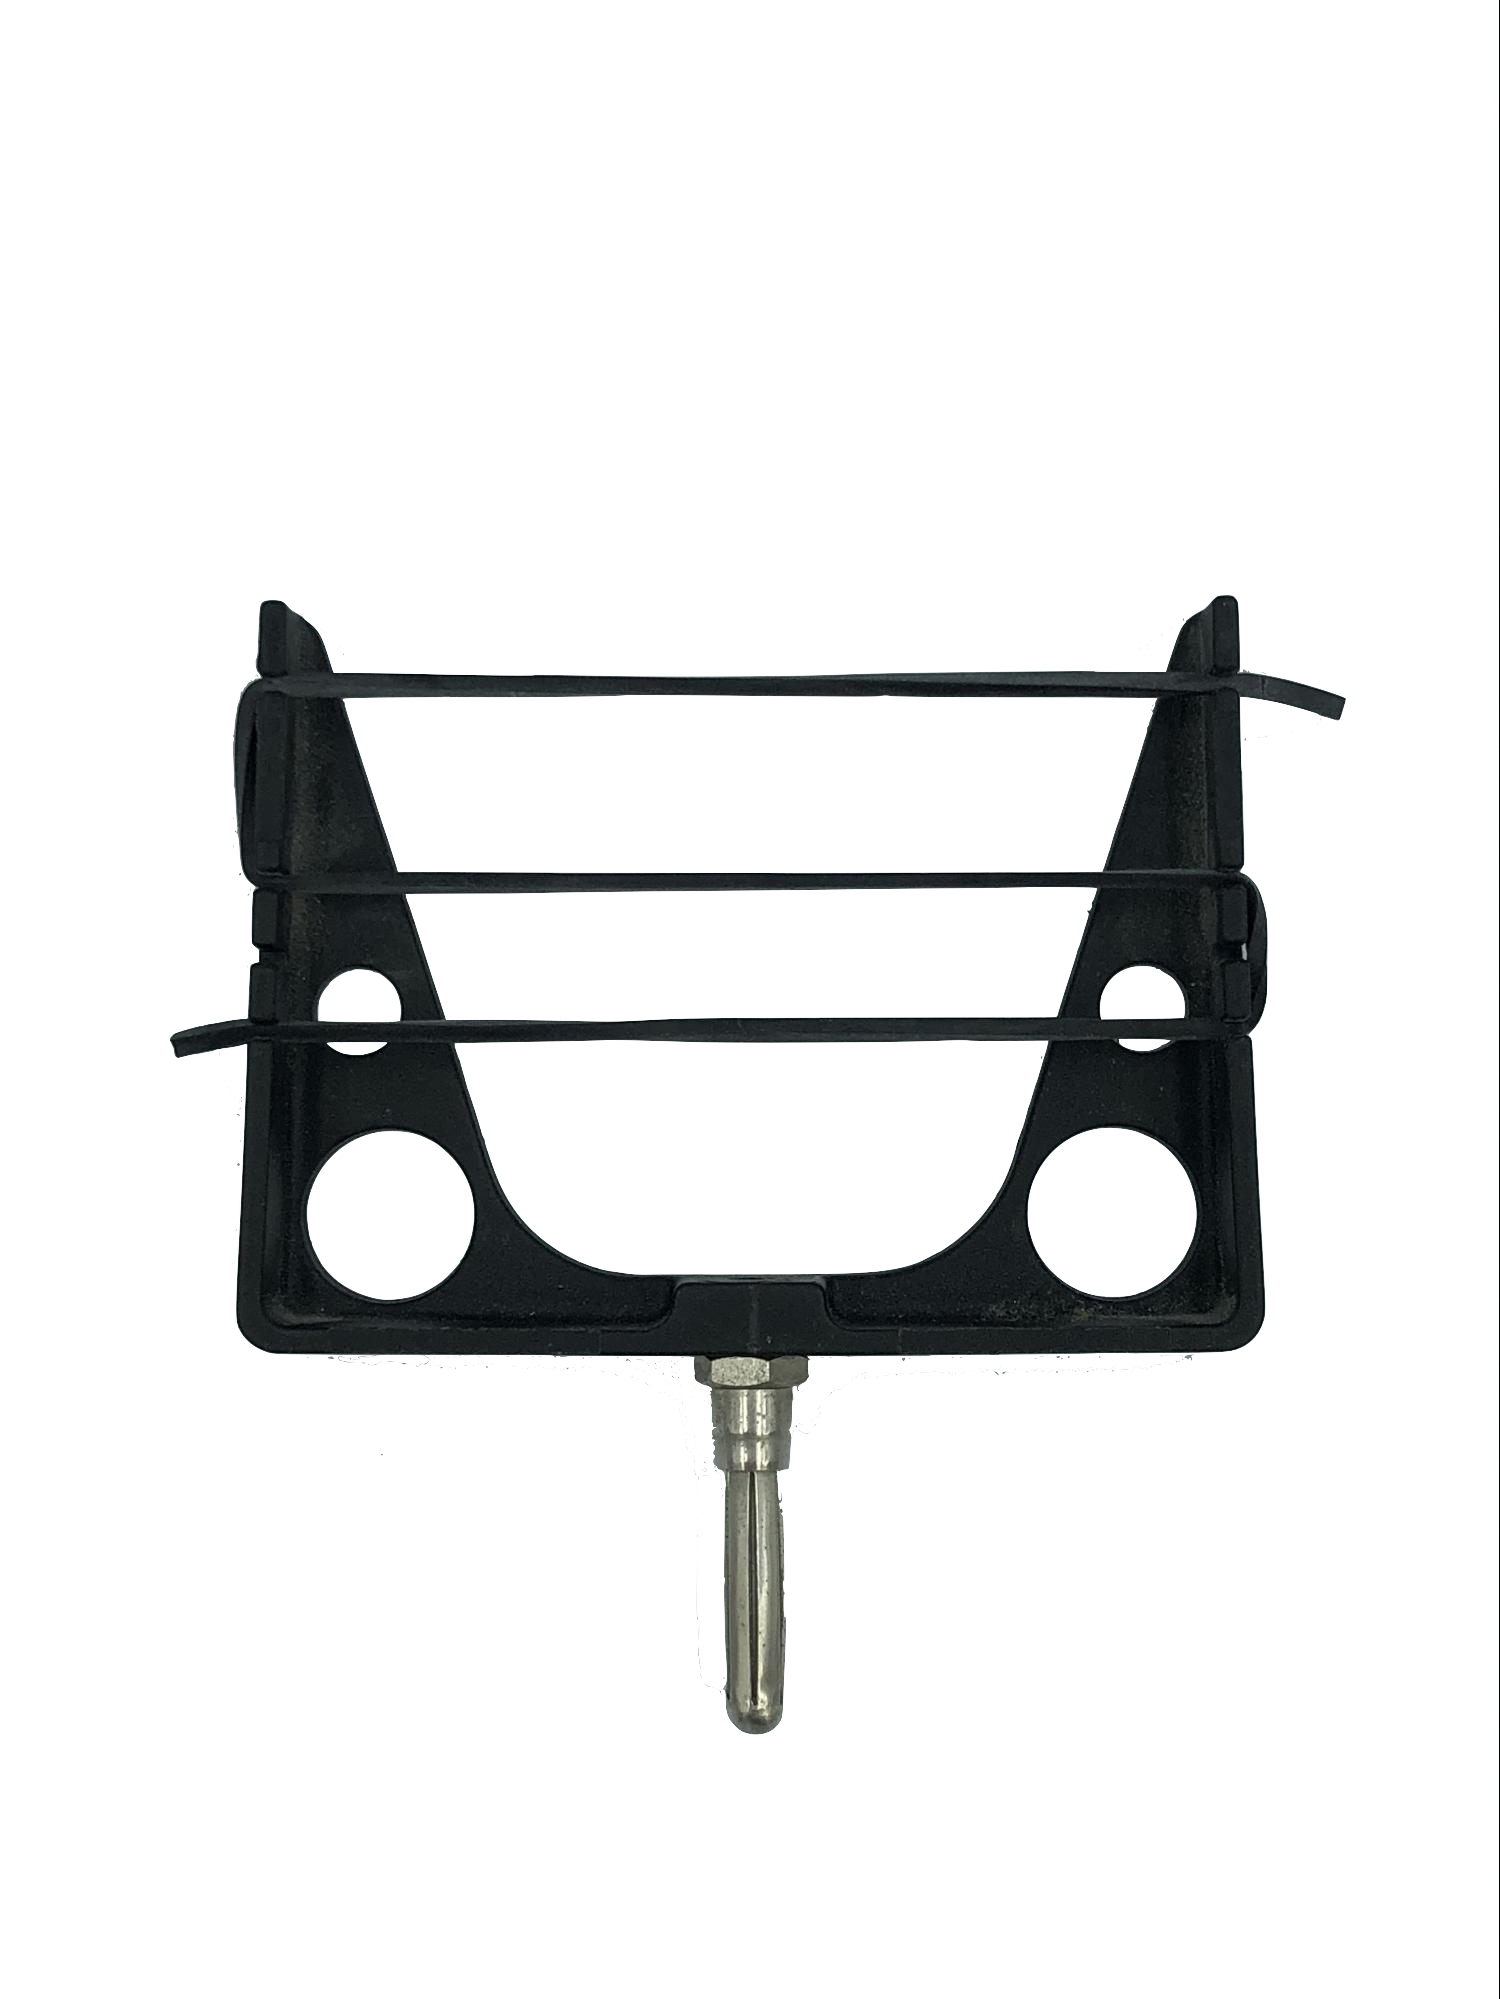
- The air tracks are longer than one table, so place it evenly on two tables and those two tables will work together during the lab. There is a small, black plastic piece at each of the ends of the air track. These pieces are delicate, so be cautious when moving the tracks not to hit the plastic pieces on anything.
¶ Small Black Plastic Holder on Track

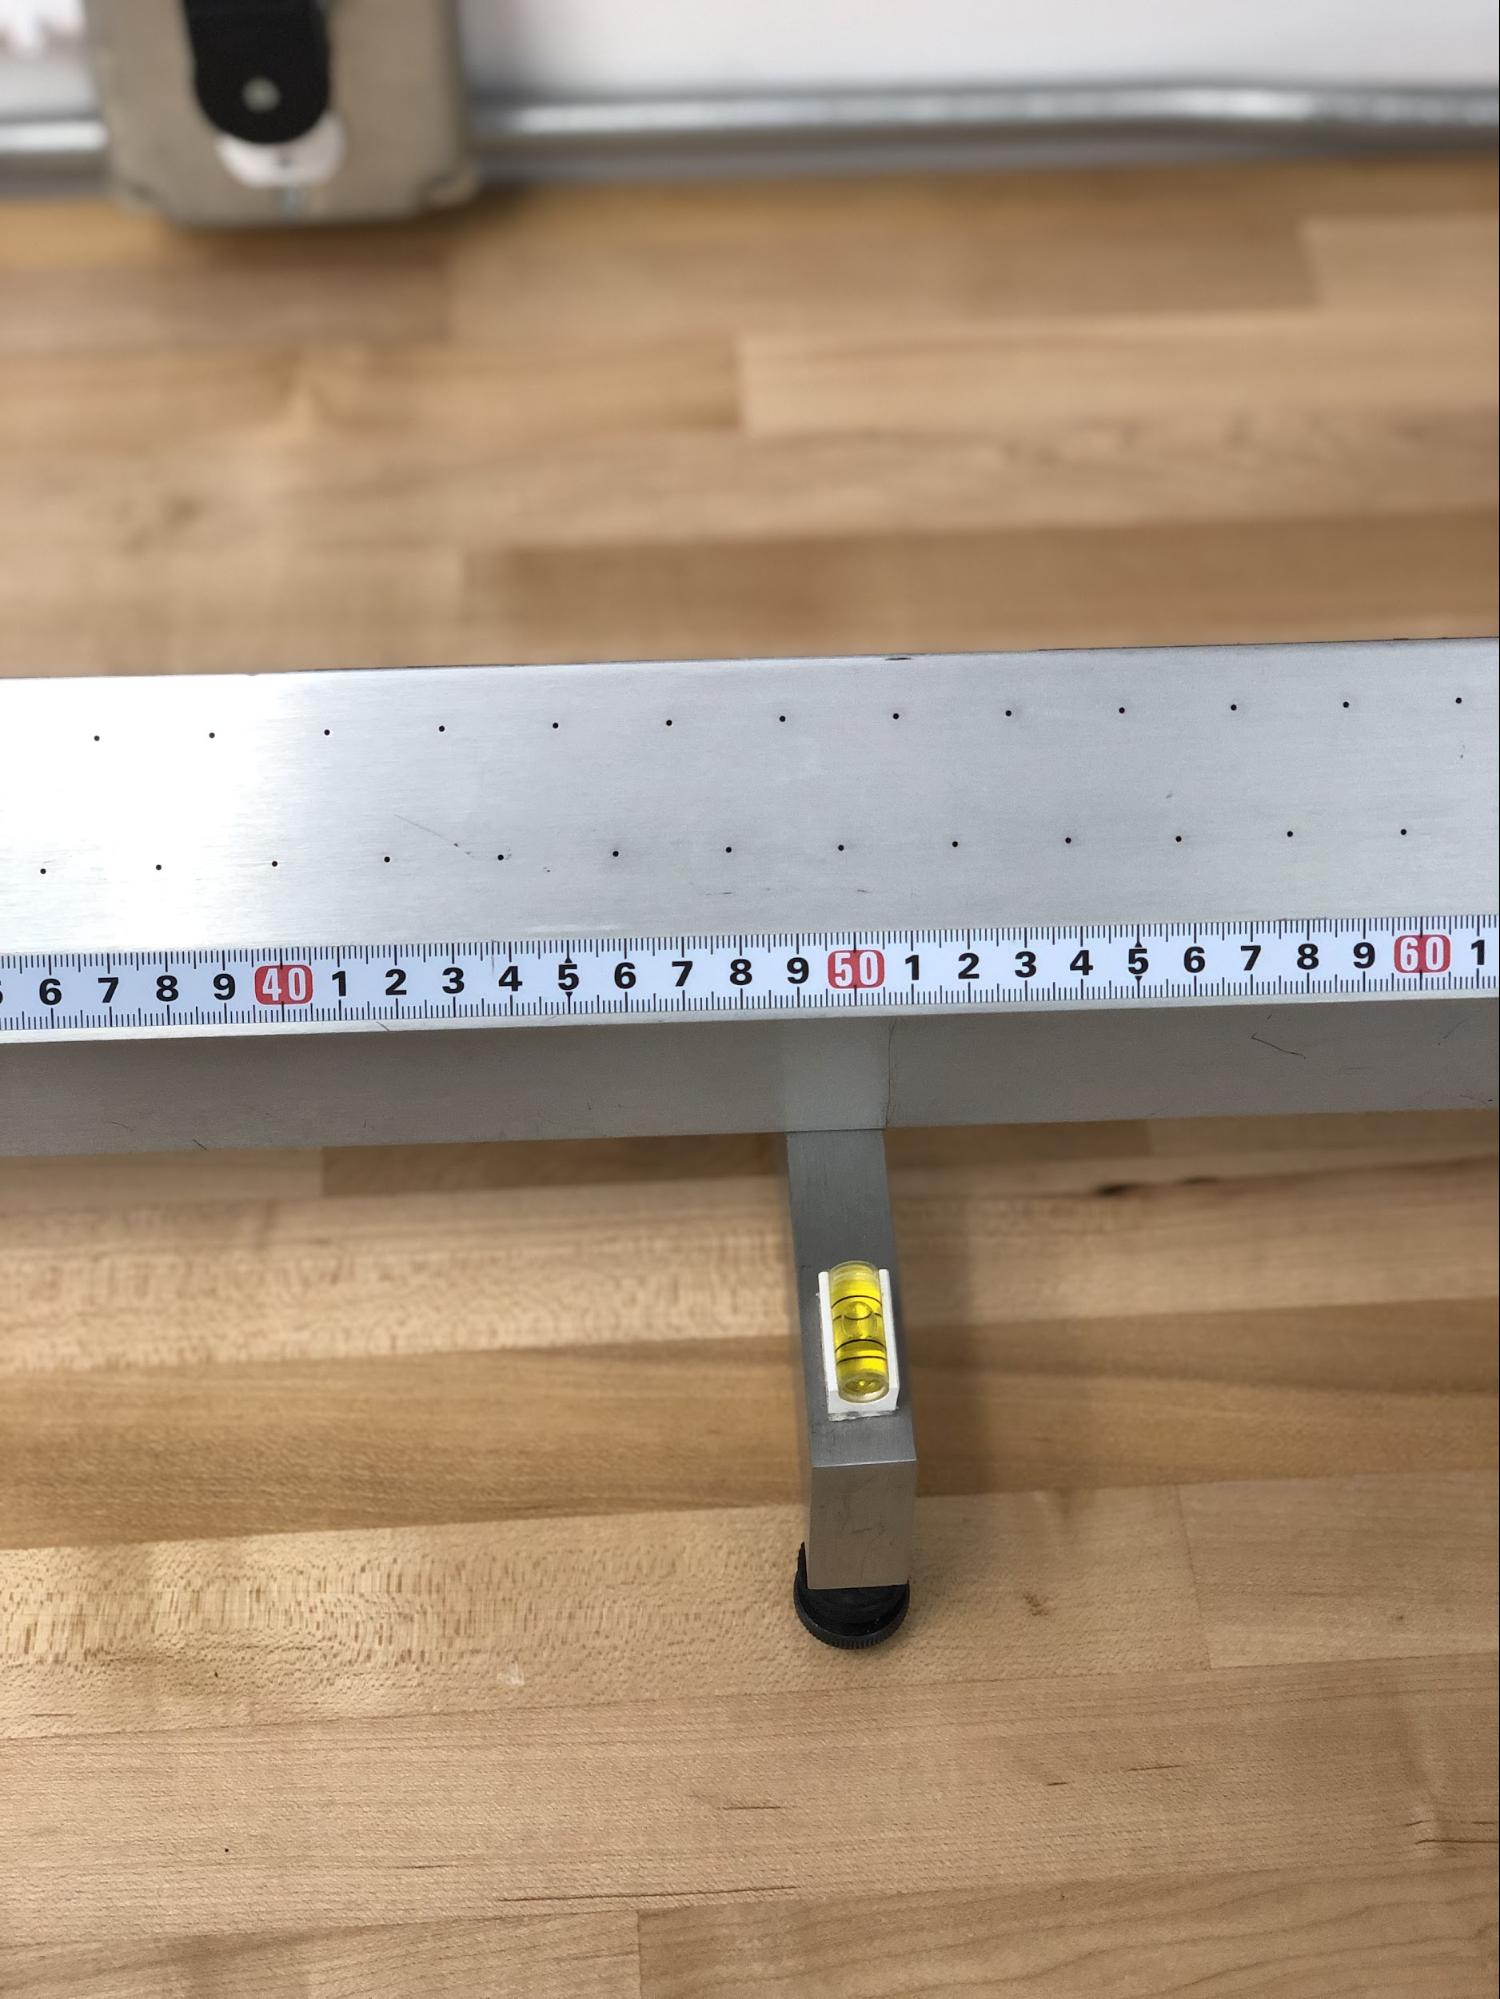
2. Also, when placing the air tracks down on the lab tables check that the level is on your side of the track, so that students will be able to easily see it while completing the lab. Use the level to level the track by adjusting the height of the two legs.
¶ Level on Leg of Air Track
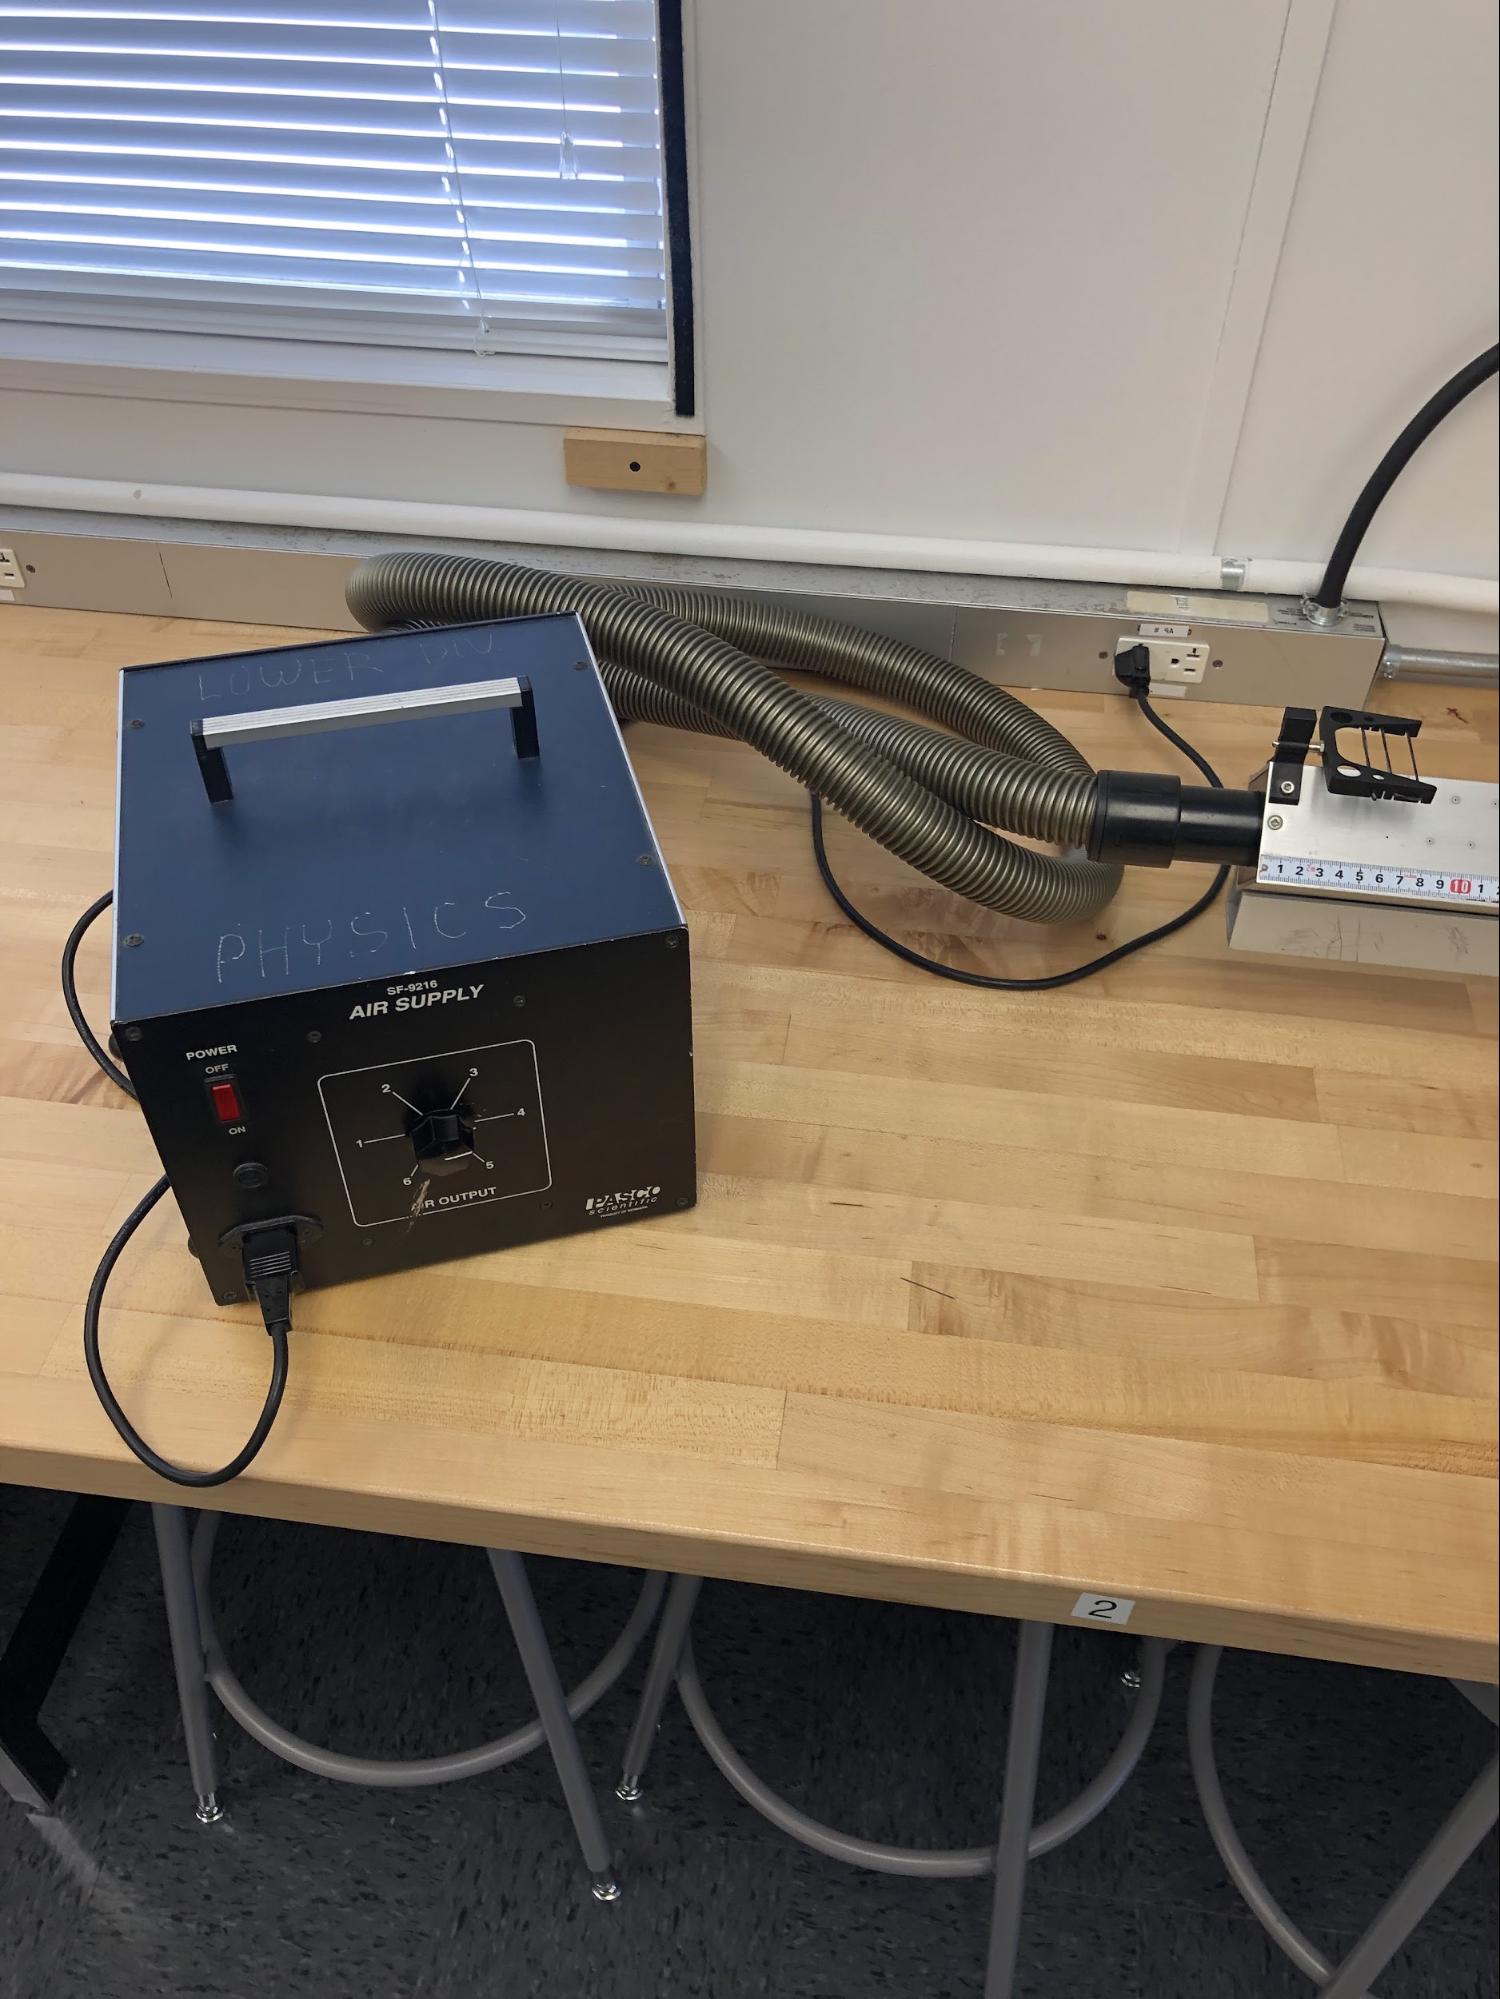
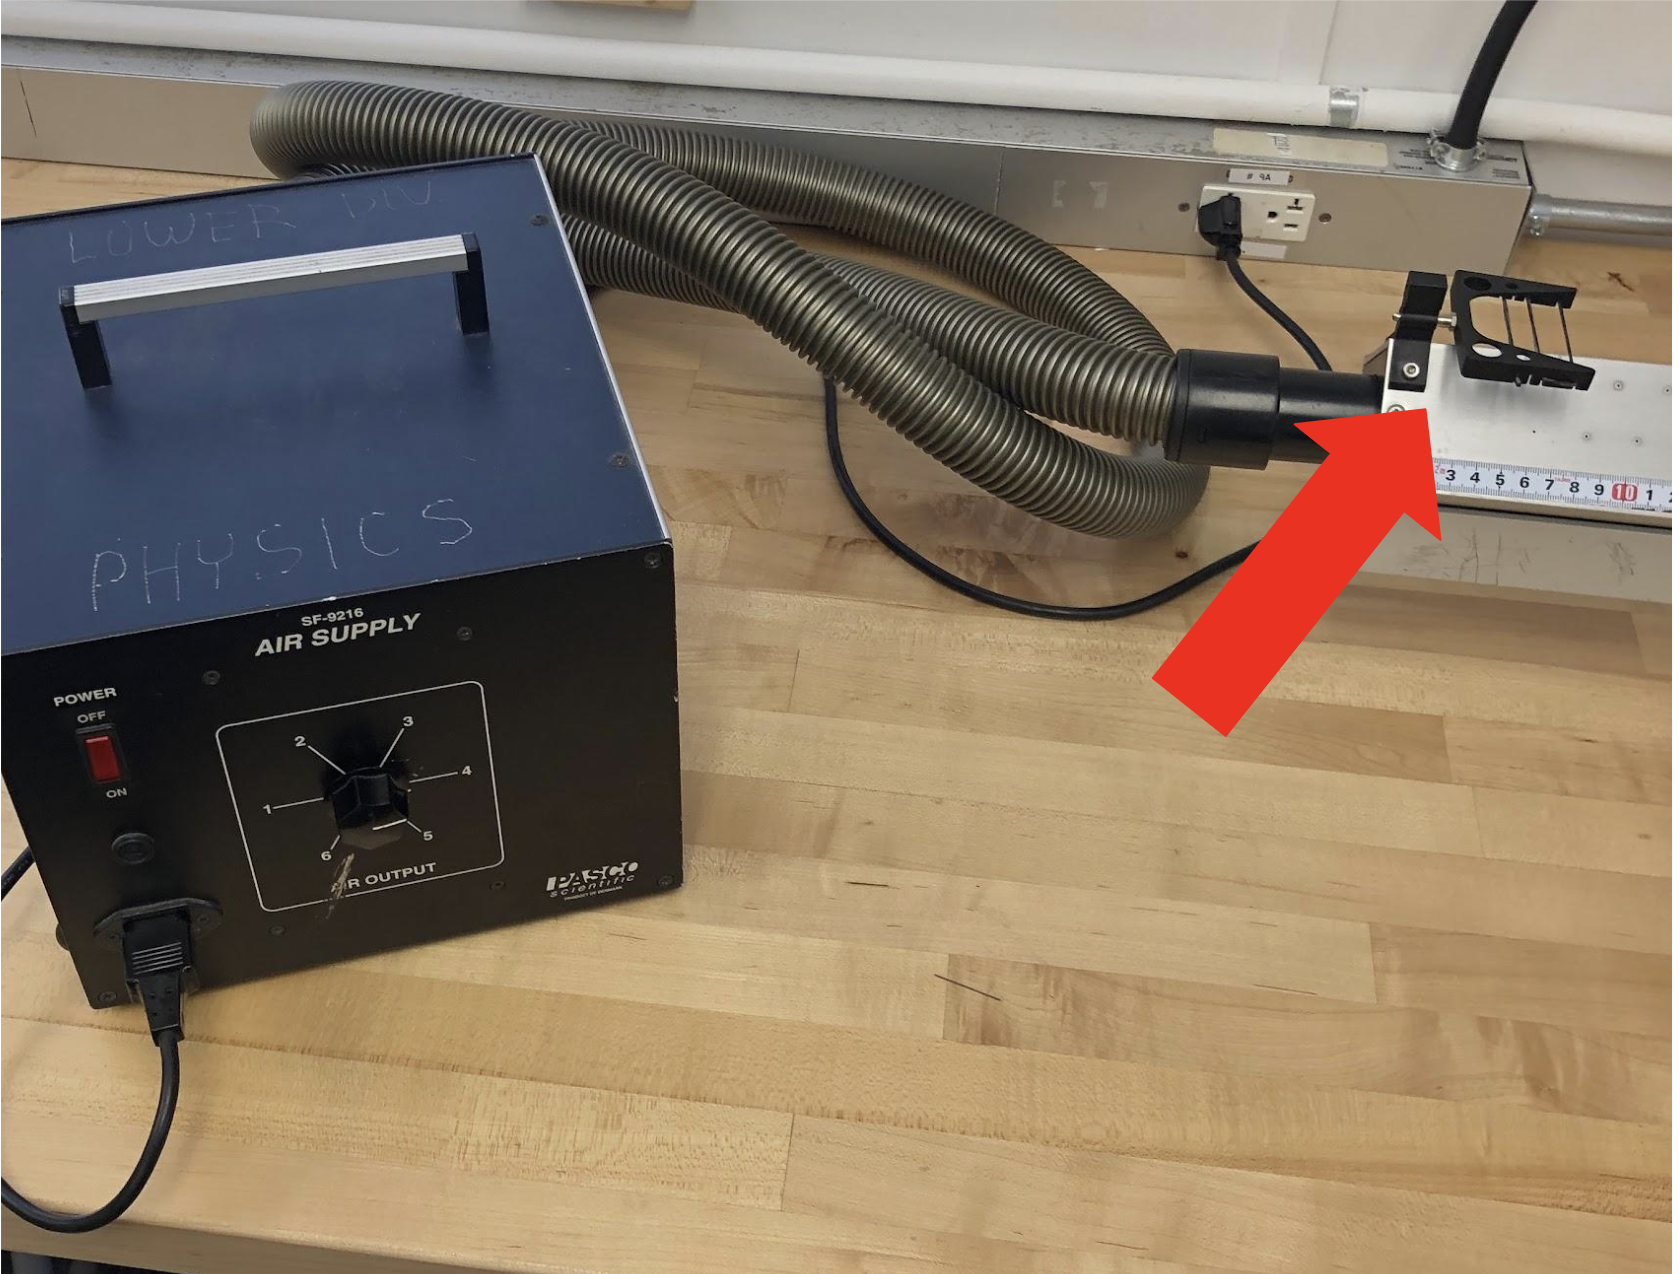
3. To connect the blower to the air track, attach the tube to the hole at one end of the air track and attach the other end to the hole in the back of the blower. It is convenient to loosely tie the tube into a knot so that the tube does not take up a lot of space on the table (see photo below). You should check that the blower is working and can support the glider with all four masses on it when on the setting number 4.
¶ Blower with Tube Attached to Airtrack and Glider
4. Use the glider and the blower to level the track. Turn the blower on and see if the glider falls to one side of the track. Adjust the height of the singular leg accordingly. Once the track is level, the glider should move back and forth slightly by itself.
¶ Bumper
5. On the same side as the blower, place one bumper in the bottom hole of the small plastic attachment on the air track. The rubber cord will wear out over time and need to be replaced (see info below).
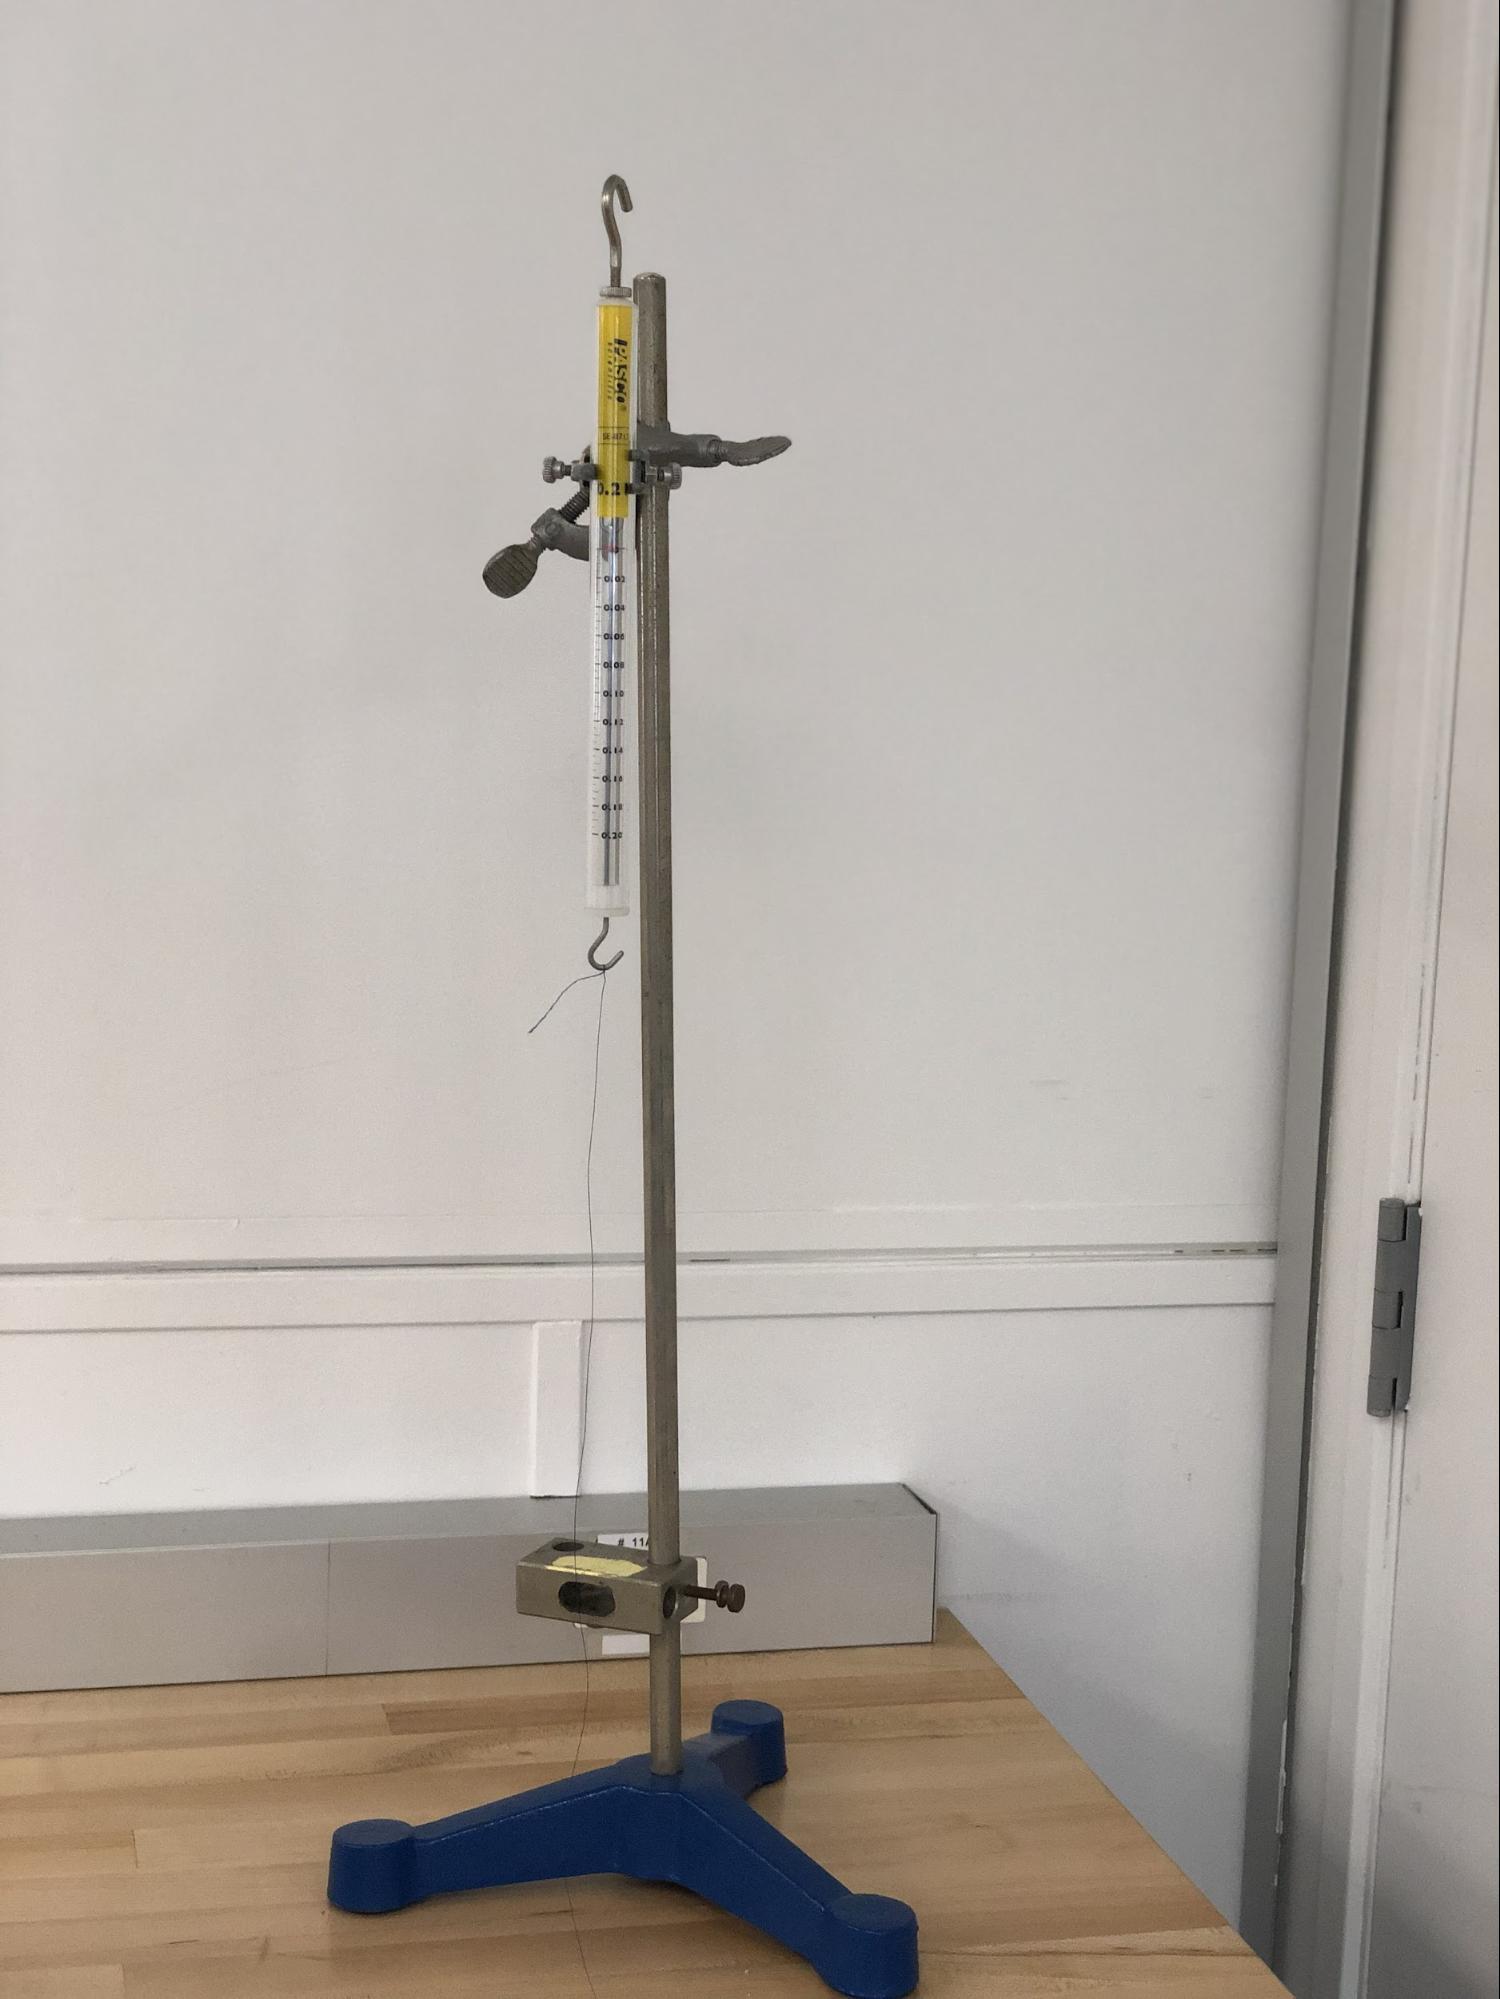
¶ Spring Scale and Pole Stand
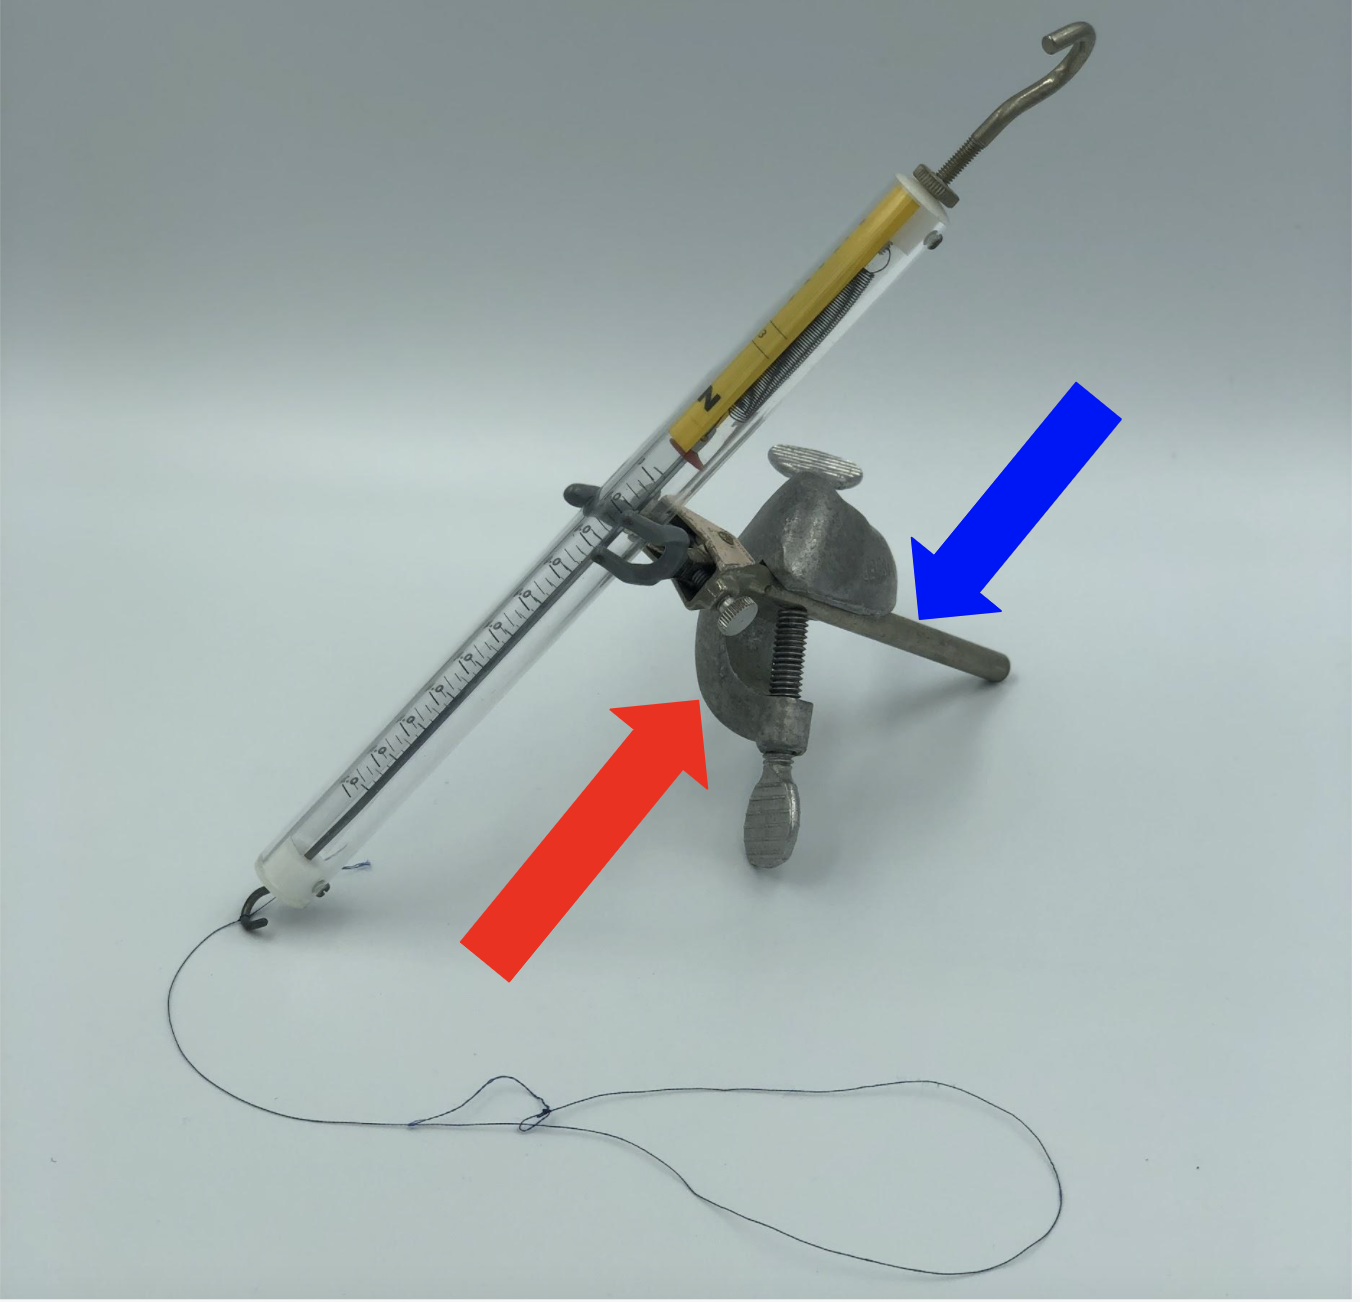
6. Attach the spring scale to the pole stand using the test tube clamp (blue arrow below) and the right angle clamp (red arrow below). Place the pole stand with the spring scale at the other end of the air track.
7. On the same side as the pole stand, place the pulley in the top hole of the small plastic attachment at the end of the air track. Place the pulley so that the arm is facing away from you. The thread on the end of the spring scale will go around the pulley and attach to the glider.
8. Place the remaining lab materials next to the track.
¶ Spares
- Thread
- Stopwatches
- Aluminum Blocks
- Rubber Cord
¶ Notes
To replace the rubber cord, use PASCO scientific rubber cord (ME-8986) and cut it into about 6 ¾” pieces. Then, wind it through the plastic bumper, starting at the bottom.
¶ Link to Lab Instructions
Last Updated: 4/19/23