¶ Lab 1: Reflection and Refraction
¶ Materials
- Optic Bench, PASCO OS-8515
- Desk Lamp
- Light Source with Stand
- Power Supply for Light Source
- Ray Table
- Stand for Ray Table
- Trapezoidal Acrylic Block
- ½ Cylinder Acrylic Block
- Convex and Concave Mirror
- Cork Pad
- Plane Mirror Assembly
- Small Container with 3 Pins
- 1 Yellow Pin
- 2 Non-Yellow Pins
- ½ Meter Stick
¶ Cart?
No cart needed.
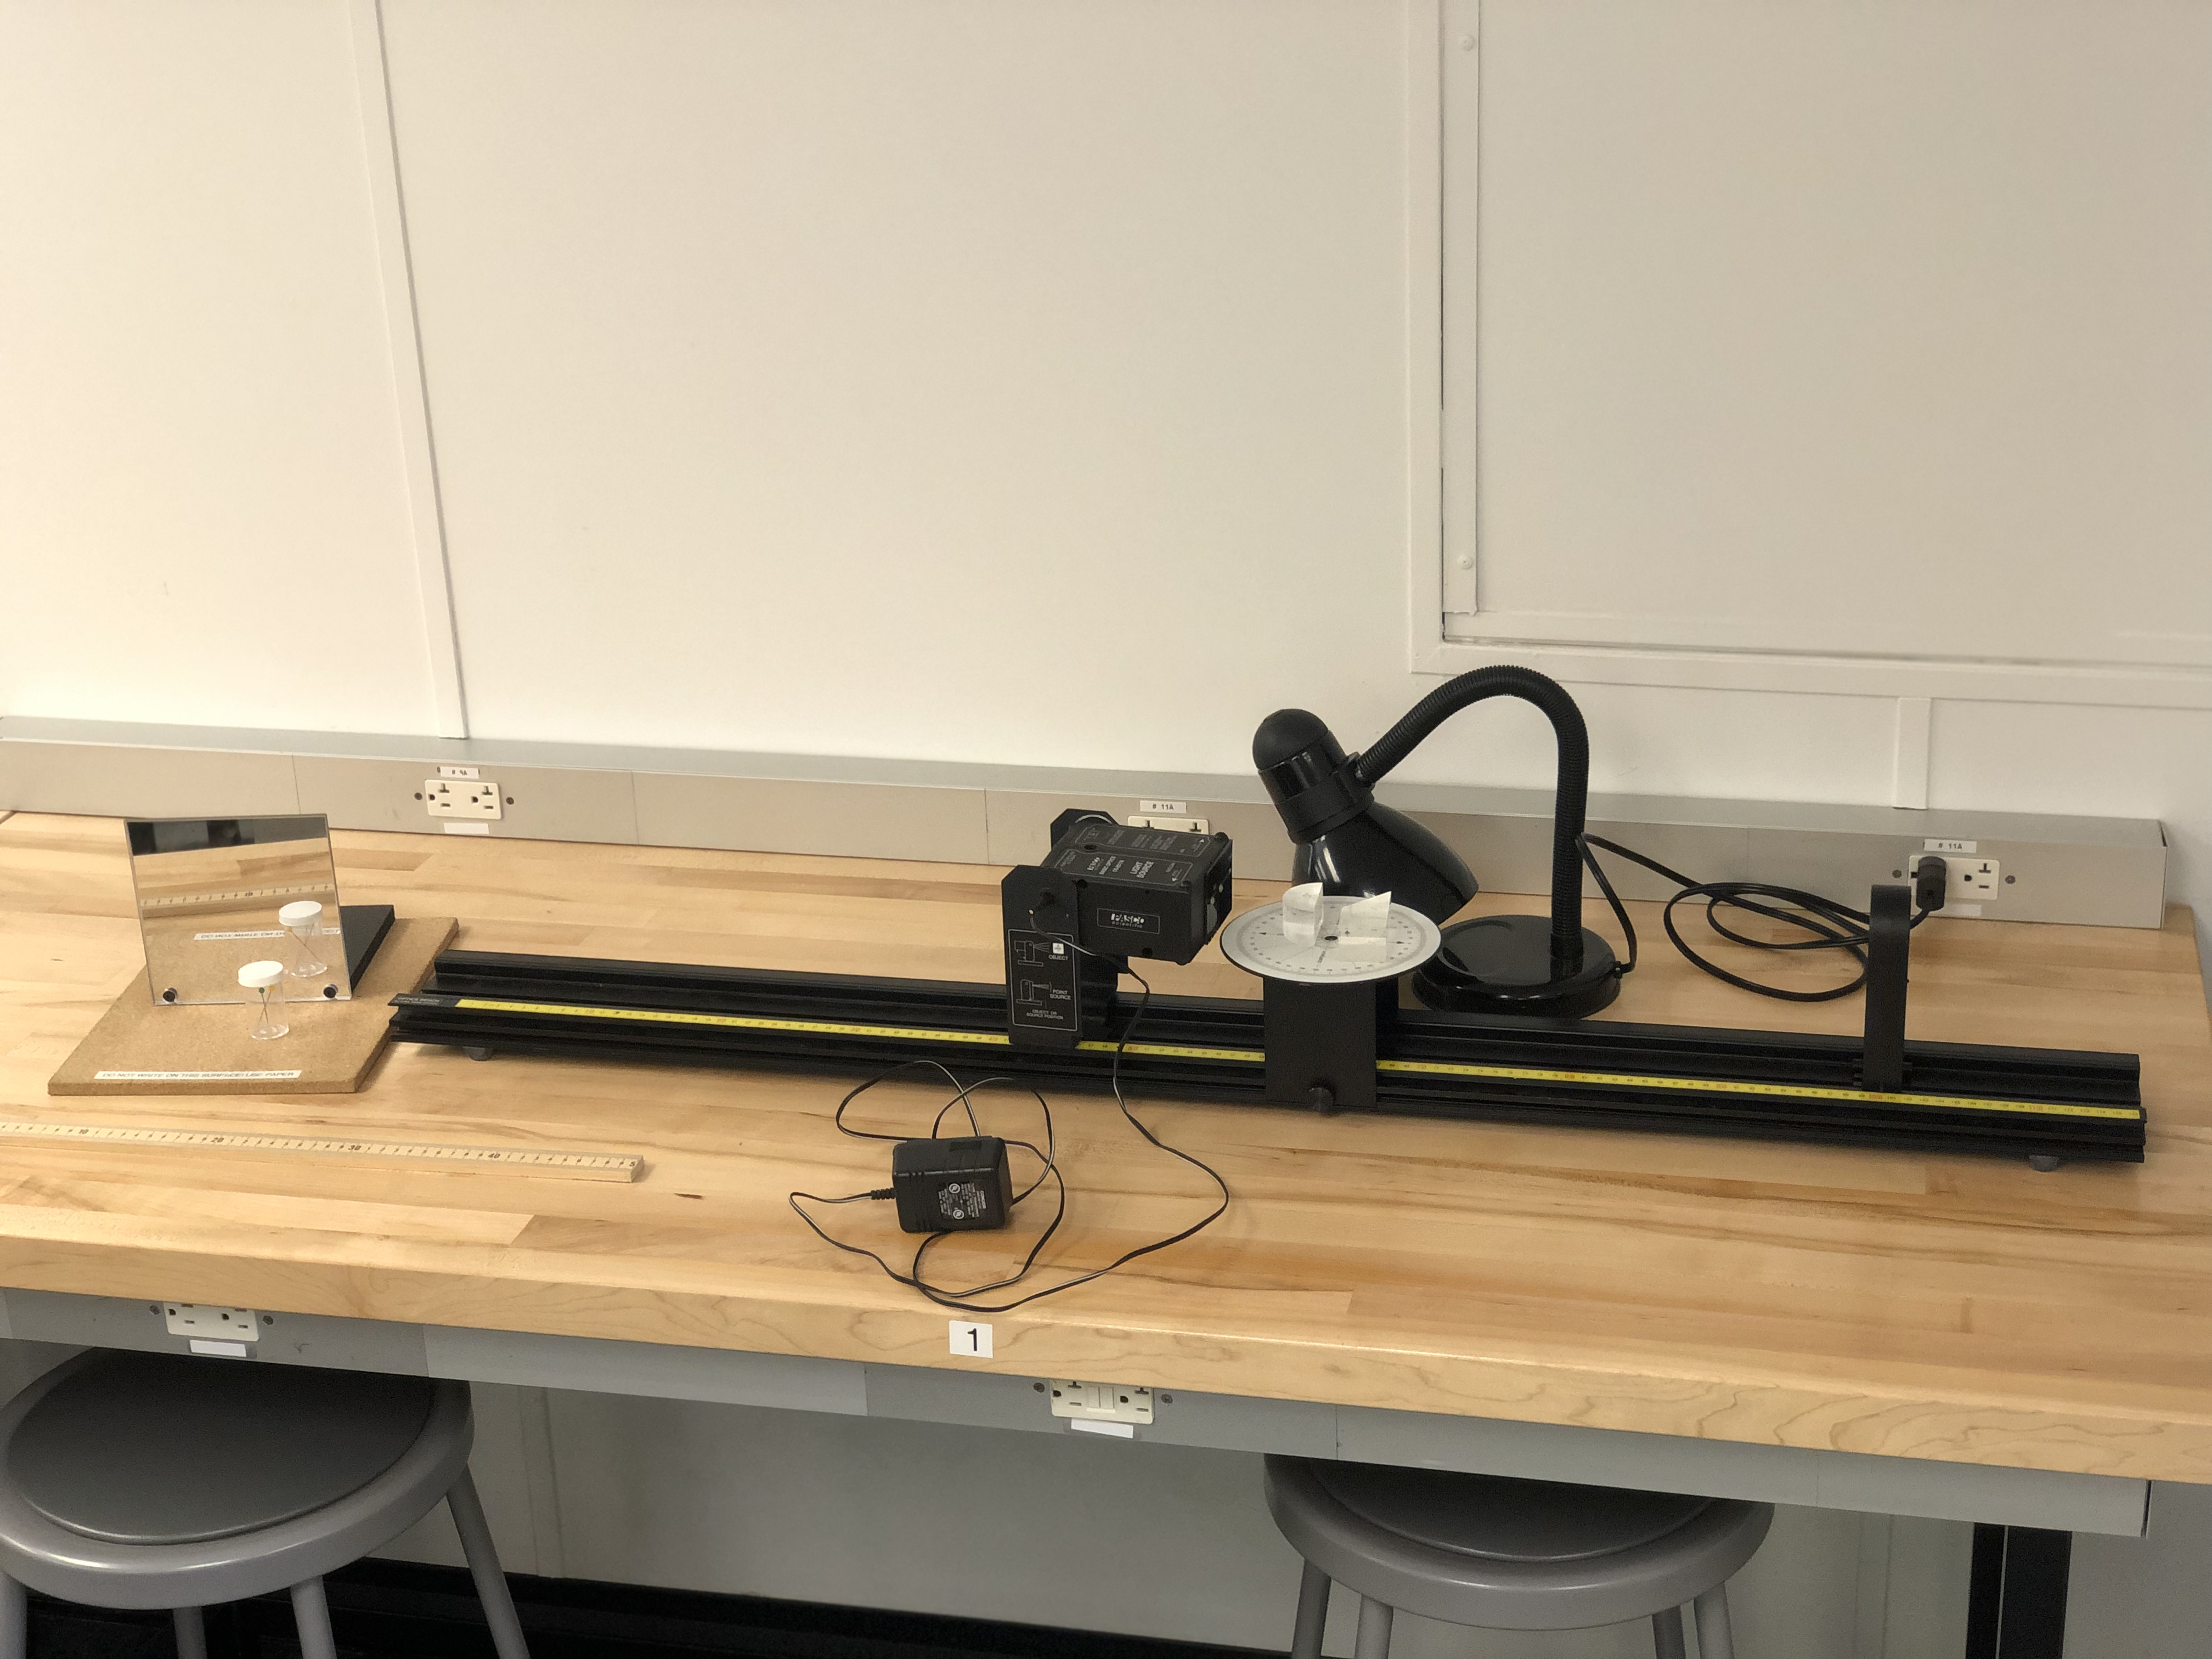
¶ Photo of Completed Set-Up
¶ Instructions
- Place the optics track and ½ meter stick on the lab table.
- Place the desk lamp on the lab table behind the track and plug it into the wall.
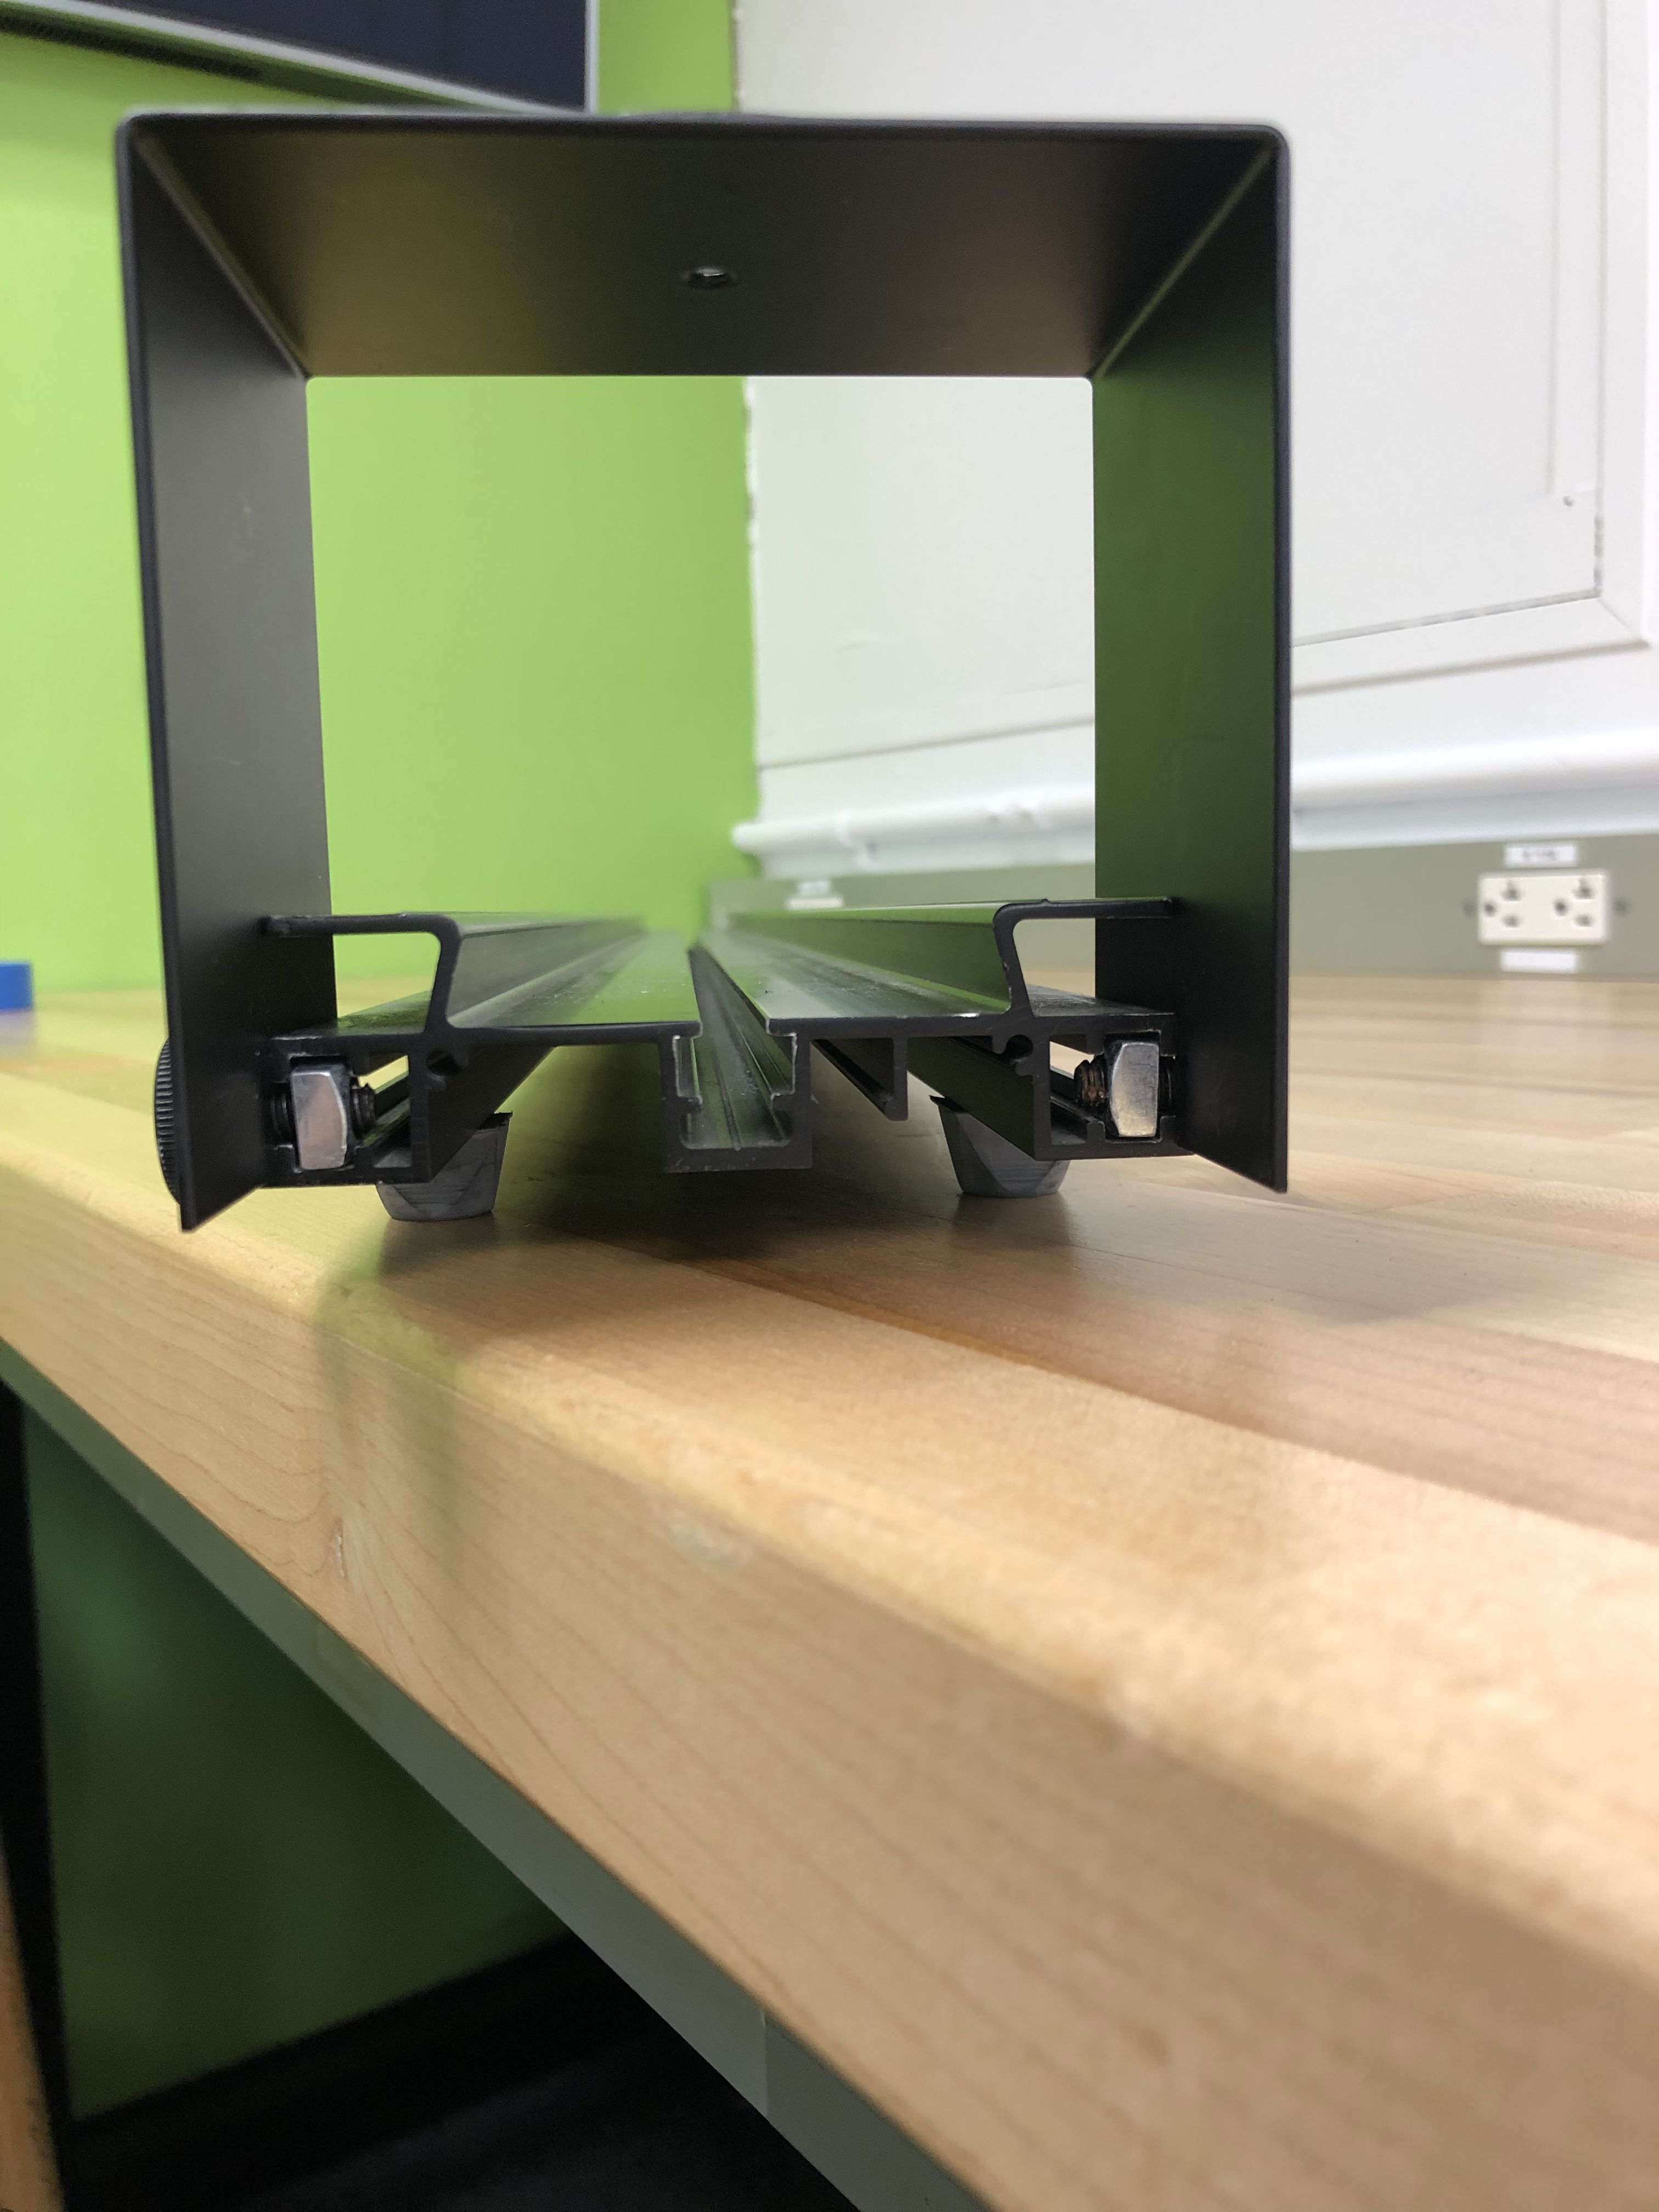
- To attach the stand for the ray table to the optics track, slide the nuts on either side of the track into the channels on the side of the track. Tighten the set screws on both sides of the stand to lock the stand in place.
¶ Ray Table on Optics Bench
4. Place the ray table on top of the stand and it will magnetically attach.
¶ Ray Table on Stand
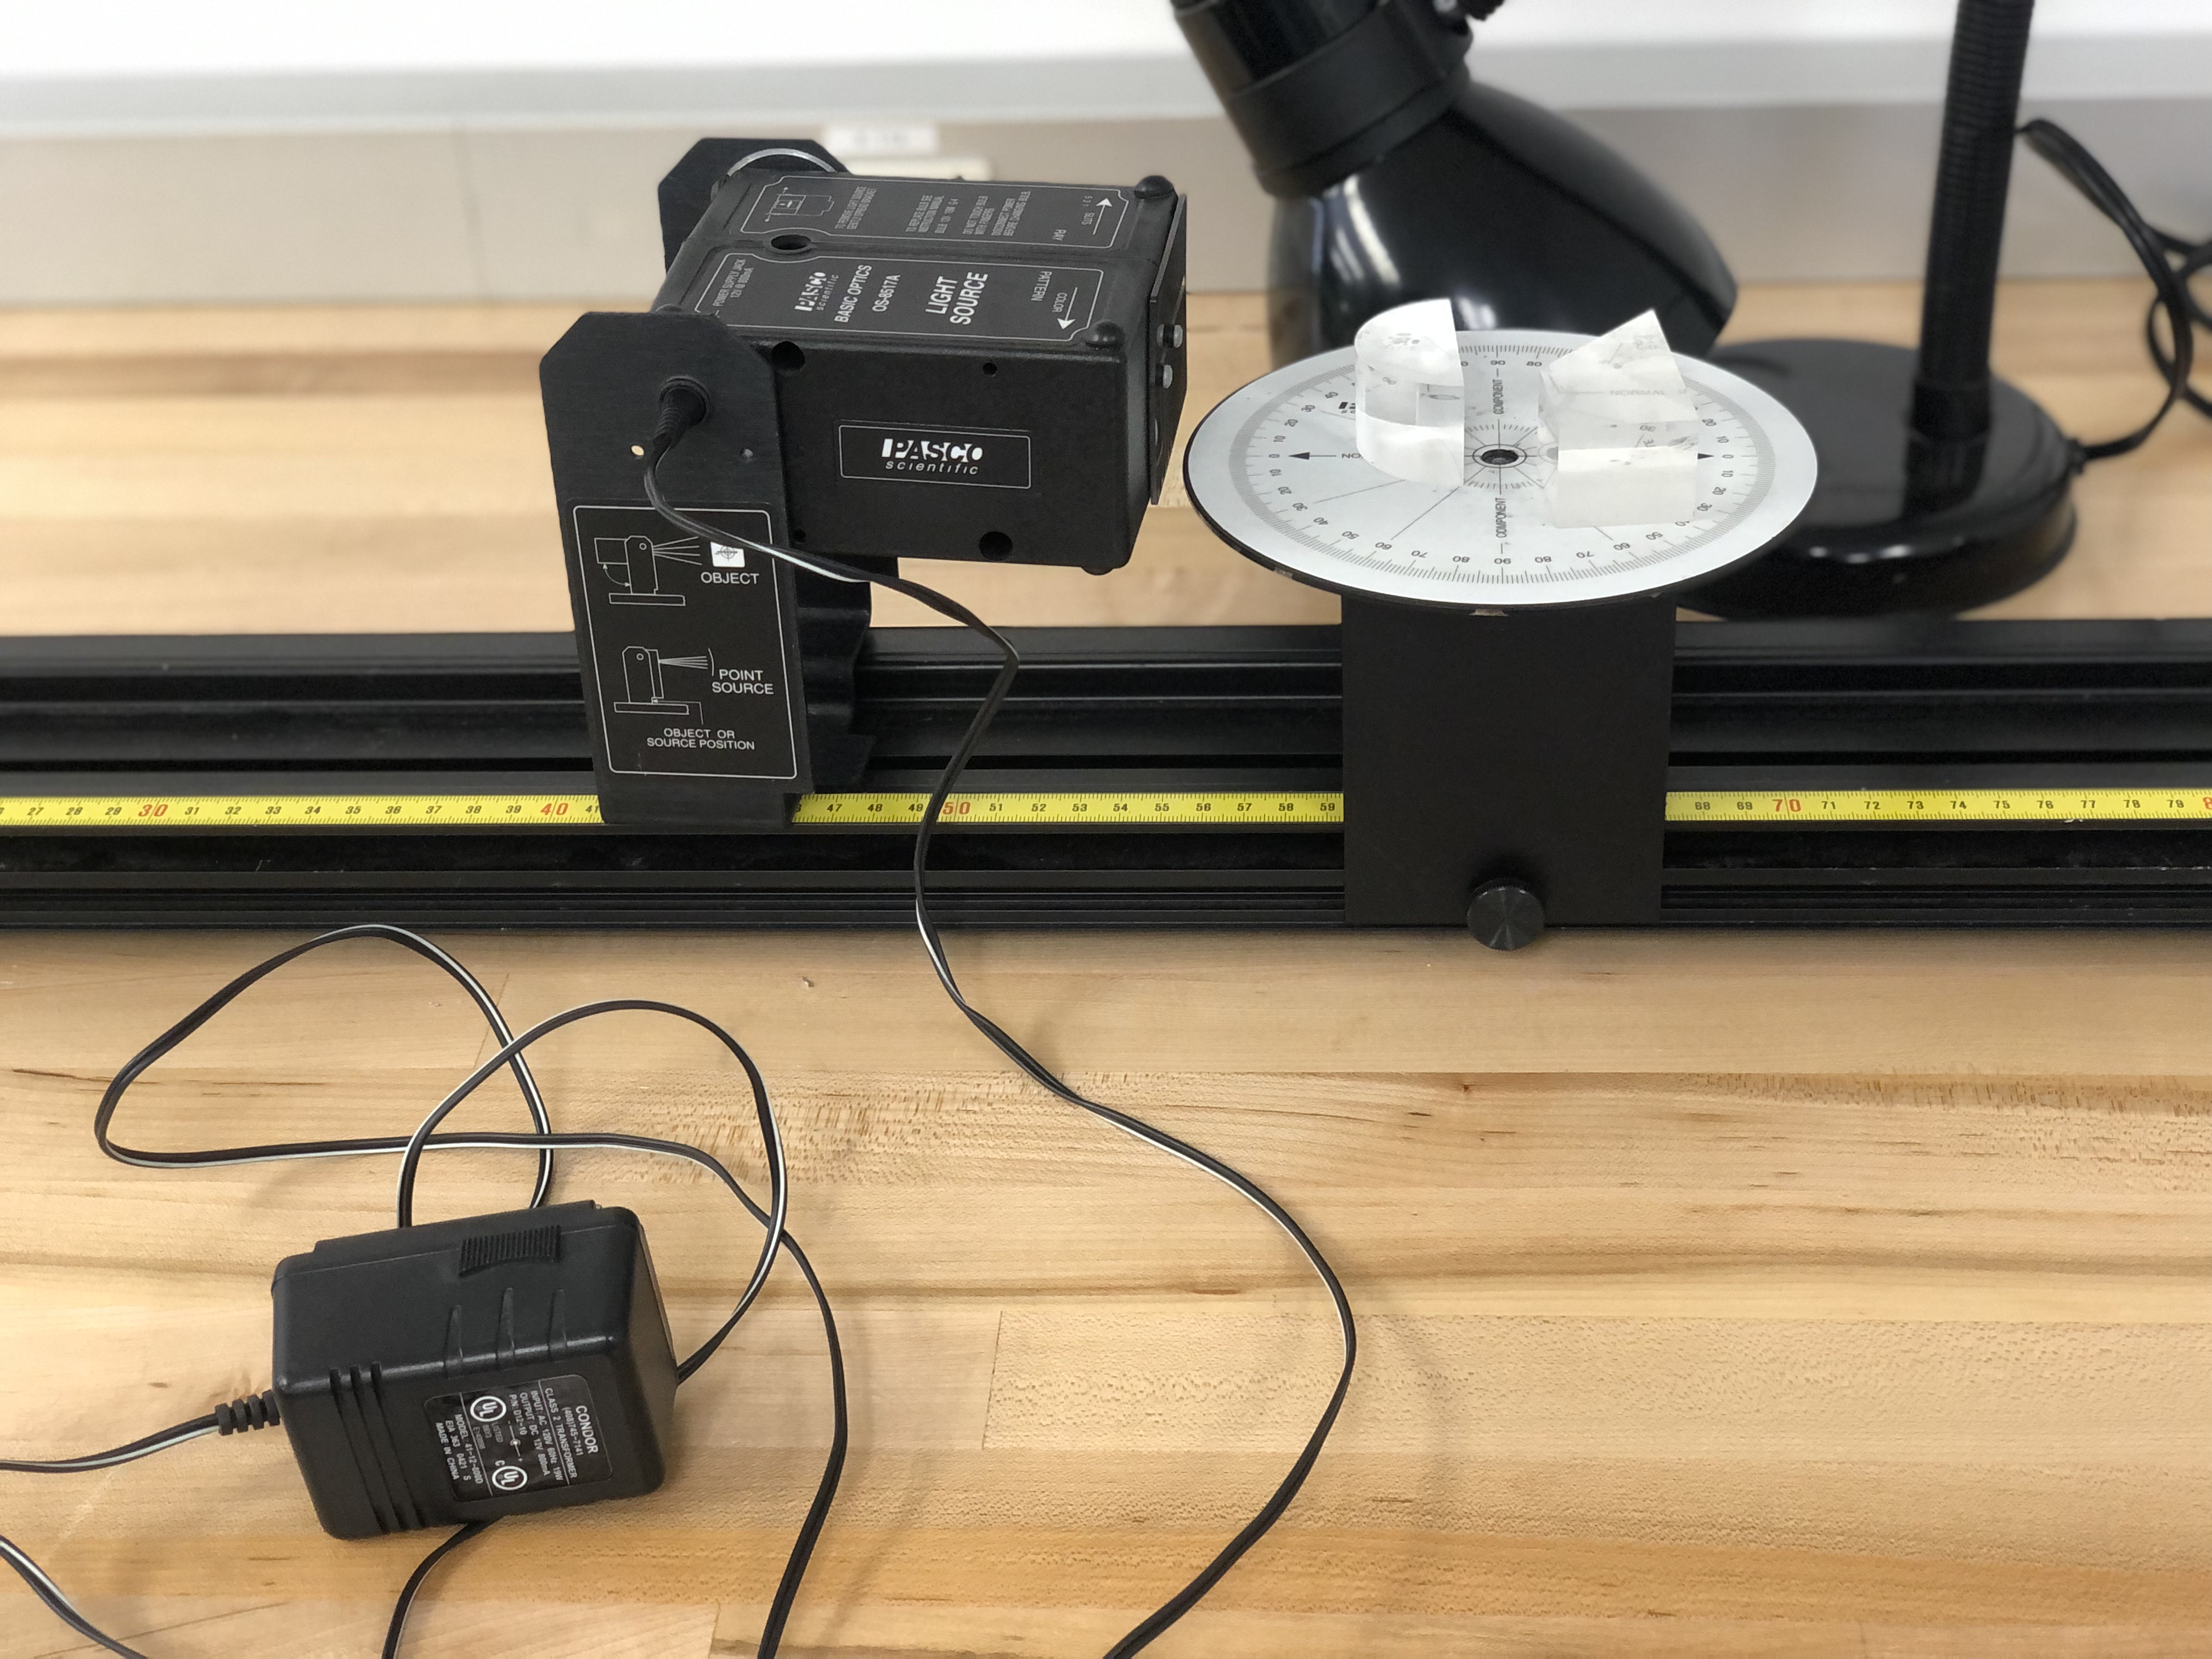
5. To attach the light source to the optics track, slide the nut that is attached to the set screw on the stand into the central channel on the optics bench and tighten the set screw to lock the stand in place. Plug the power supply into the light source, but do not plug it into an outlet. The light source should be right next to the ray table (see photo above).
¶ Light Stand on Optics Bench

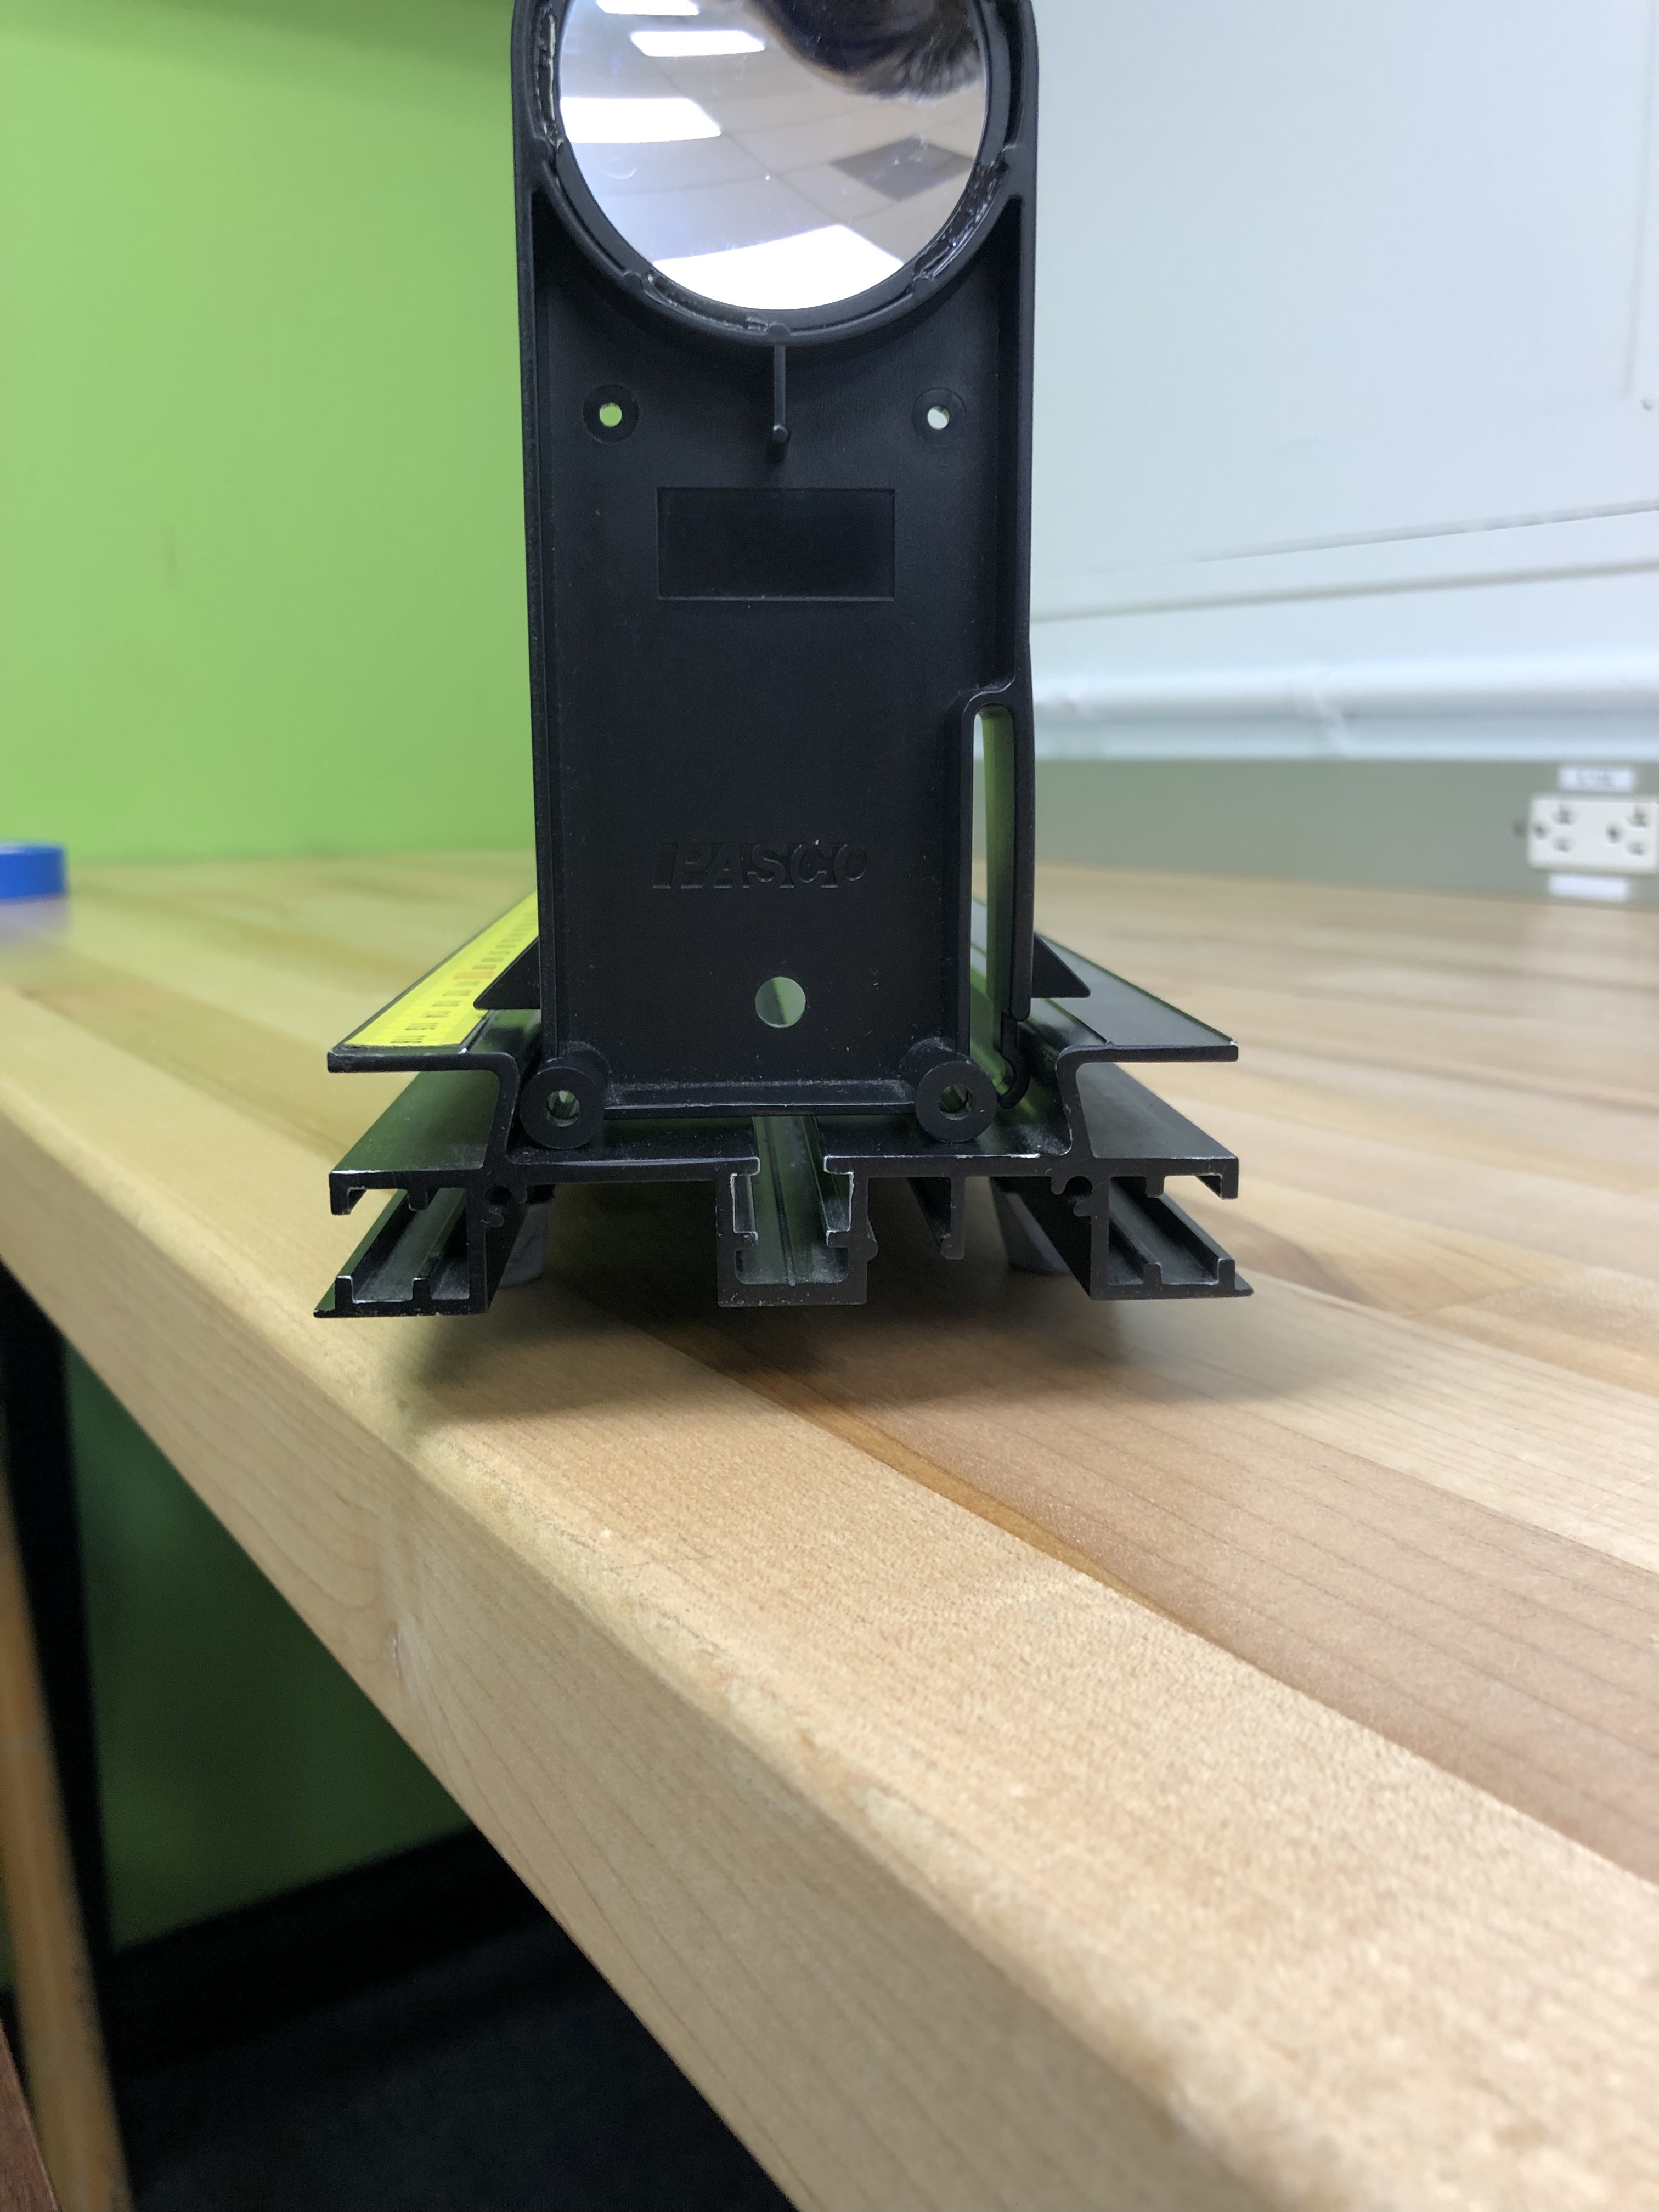
6. Pop the concave/convex mirror into the optics track at one end. The small, plastic arm at the bottom of the mirror holder can flex. Insert that side of the holder into the bench, then push slightly and insert the other side of the holder so that it stands upright in the bench.
¶ Concave/Convex Mirror on Optics Bench
7. Place the 2 acrylic blocks on top of the ray table (see photo above of the Ray Table).
8. Place the cork board, mirror assembly, and container of pins to the side of the track.
¶ Spares
- Pins
- Protractors
- Paper
- 2 Light Sources and Power Supplies
- Blocks (Trapezoidal Acrylic Block and ½ Cylinder Acrylic Block)
¶ Link to Lab Instructions
Last Updated: 4/19/23